I have always admired the fantastic Milky Way mosaics that you see on the web and here is how to try it for yourself.
Field Work
I shot this in Scotland in October using only a fixed tripod and a Canon 1100D with the stock 18-55mm lens. At this time of year, the Milky Way passes close to the zenith which makes this method easy to use. You could adapt it for other dates by tilting your tripod head so that it follows the Milky Way as you tilt the camera.
First, get to a dark site with clear views of the Milky Way from horizon to horizon. Set your tripod level and take some test shots to test focus and exposure. I set the lens to 18mm, wide open aperture, ISO 6400 and exposure to manual at 30sec.
Now aim at where the Milky Way crosses one horizon and take your first shot. Tilt the camera up about 15 degrees and take another shot. Repeat until the camera is pointing straight up which should give you a series of 7 shots or thereabouts. (The angle is not too important – you just need a good overlap between shots. Now turn your camera round to the other horizon and repeat for a second series.
Shooting all the images took me about 10 minutes.
Create the Mosaic
I used the amazing and free Microsoft Image Composite Editor (ICE) to stitch the mosaic. Start by loading the first series of images (I used the raw .cr2 files). Then click Stitch and select the Transverse Mercator projection when it has finished stitching. Click Crop and then No crop and then click Export and select the .PNG image file option. Click Export to disk and select where to save your first half of the Milky Way. Repeat for the second series of images which will give you 2 mosaic halves like these.
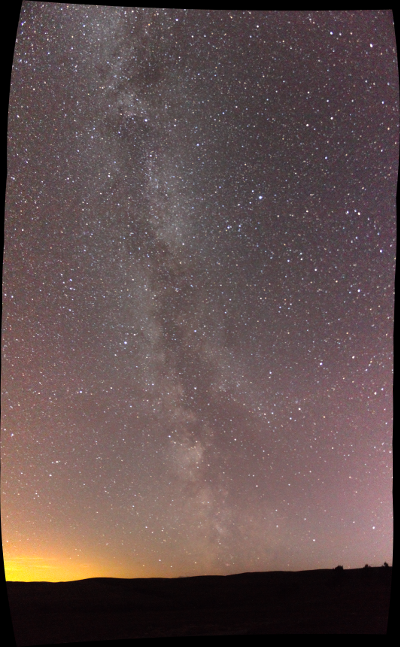
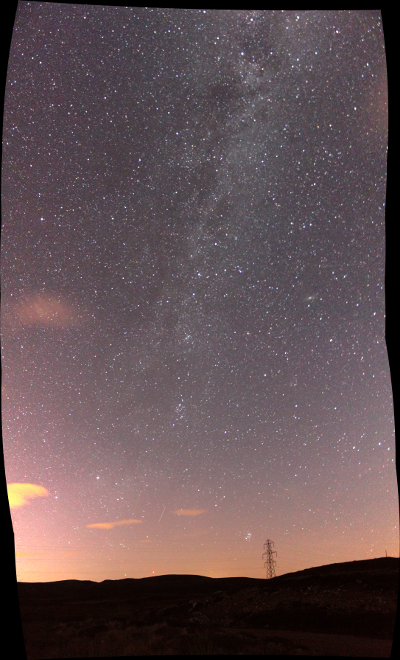
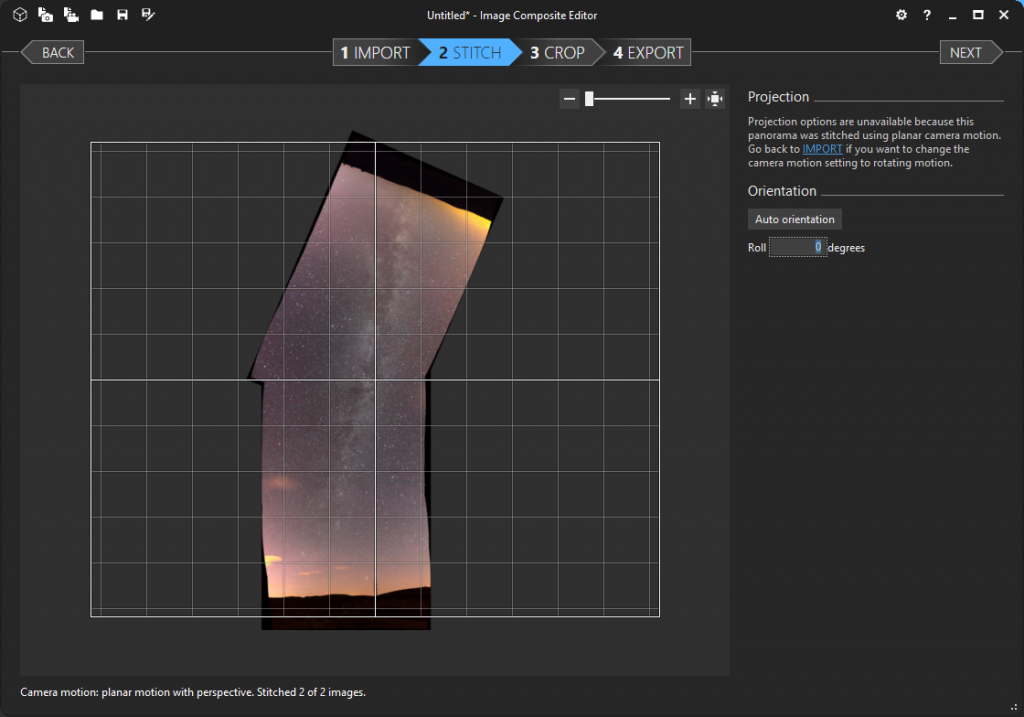
You can now use ICE to join these 2 halves to make a complete mosaic. Load them in ICE and Clicking Stitch will give you a result like this.
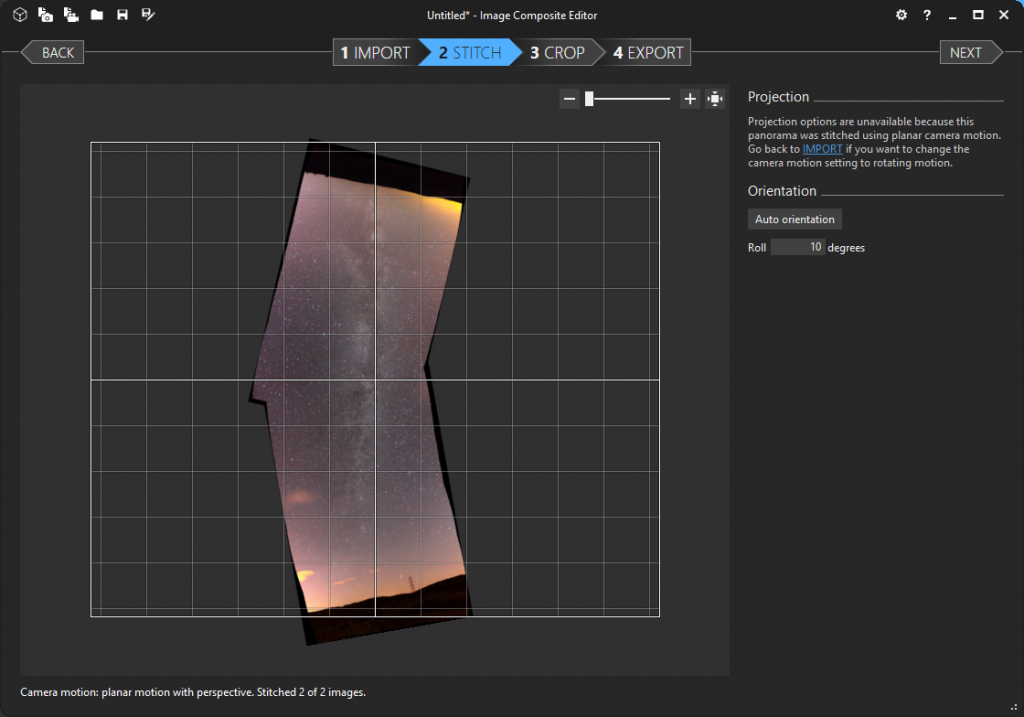
We need to rotate this a little to bring the Milky Way vertical so insert a value of 10 for Roll to give this.
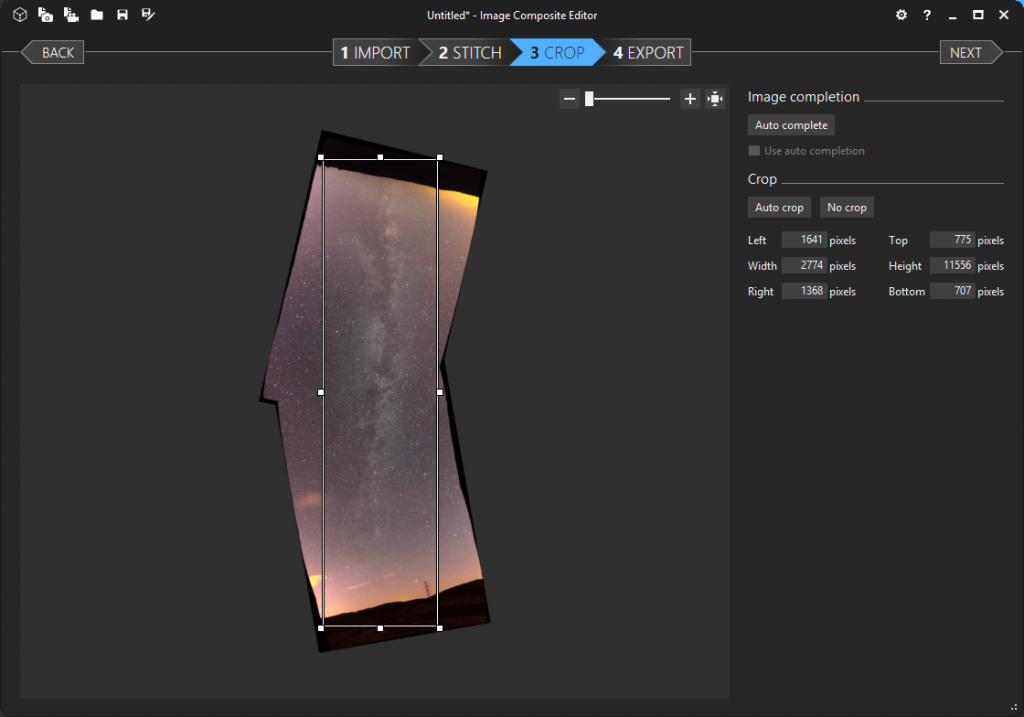
You can now click the Crop button and adjust the crop window to suit like this.
You can now export this image and edit it in your favorite image editor.
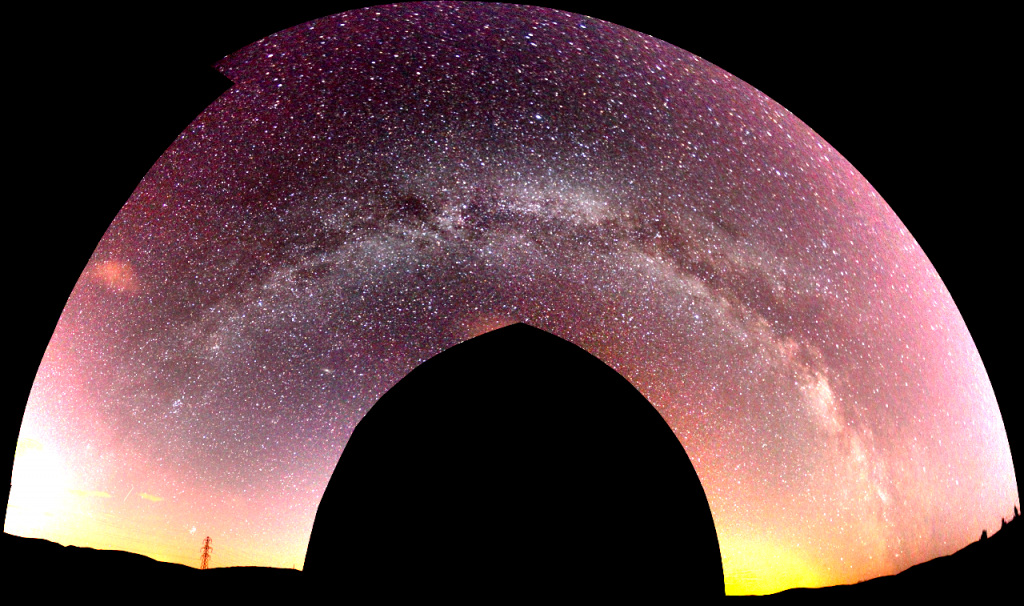
You can also load both sets of original images in and let ICE stitch them all together. Below is how this looks using the Fisheye projection and colors tweaked in Gimp.
Not bad for 10 minutes of field work?

Sorry, the comment form is closed at this time.