Lunar Features 20260128
Moon
Comments Off on Lunar Features 20260128
Jan 292026
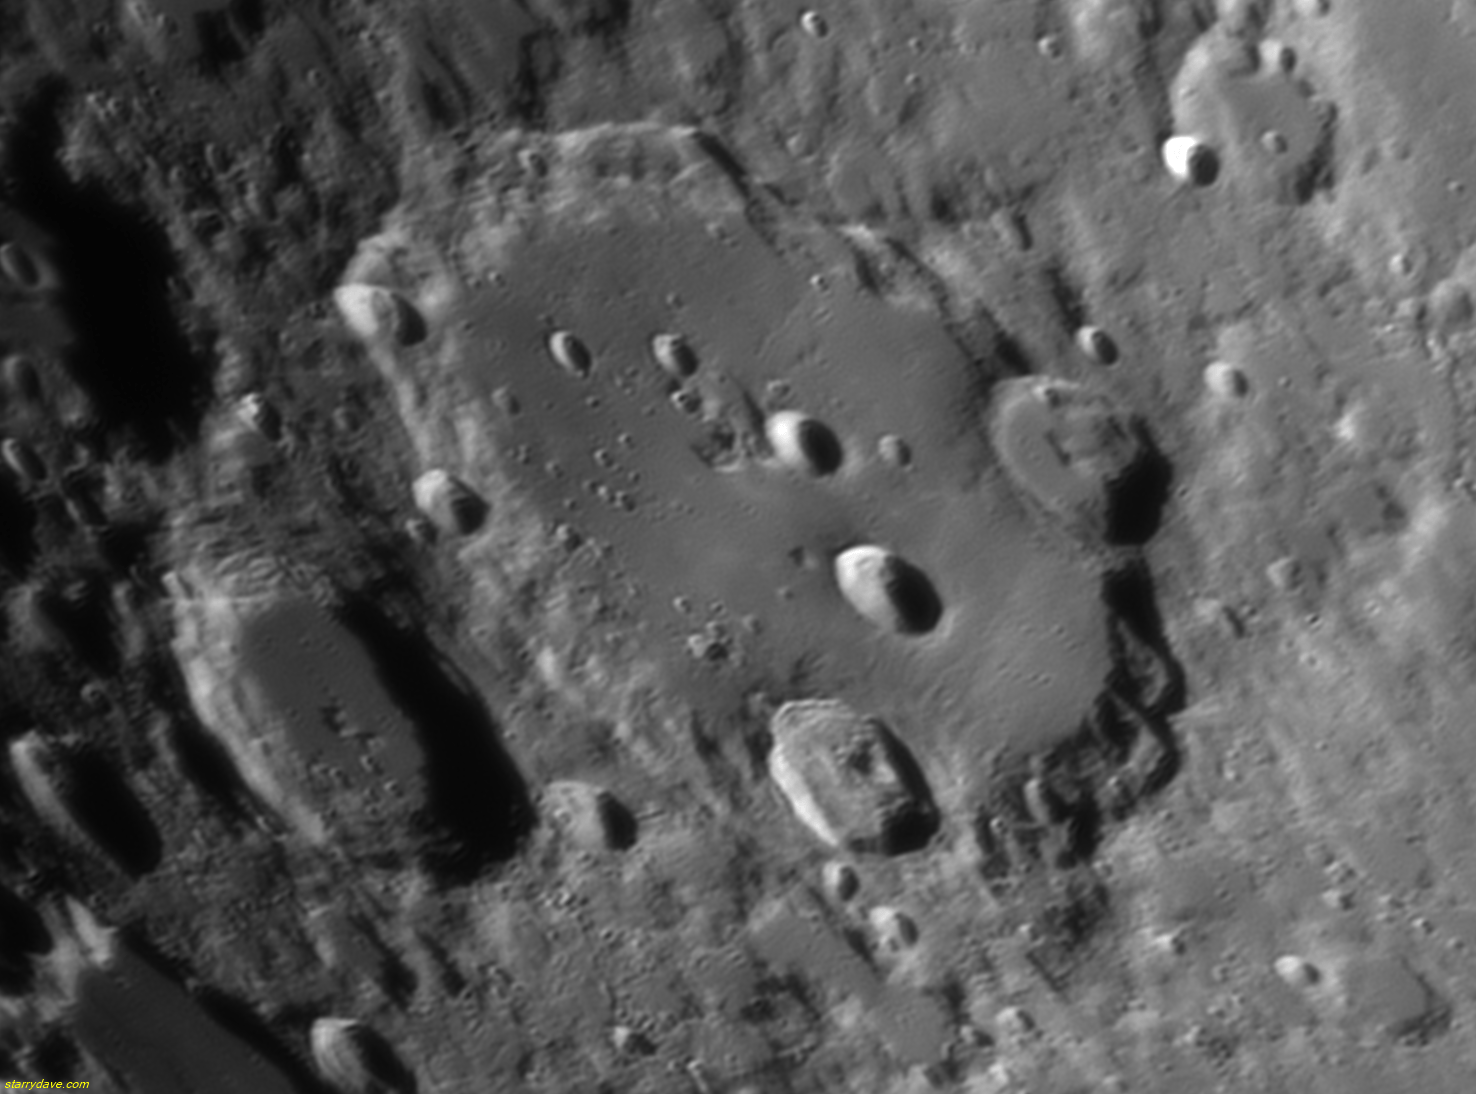
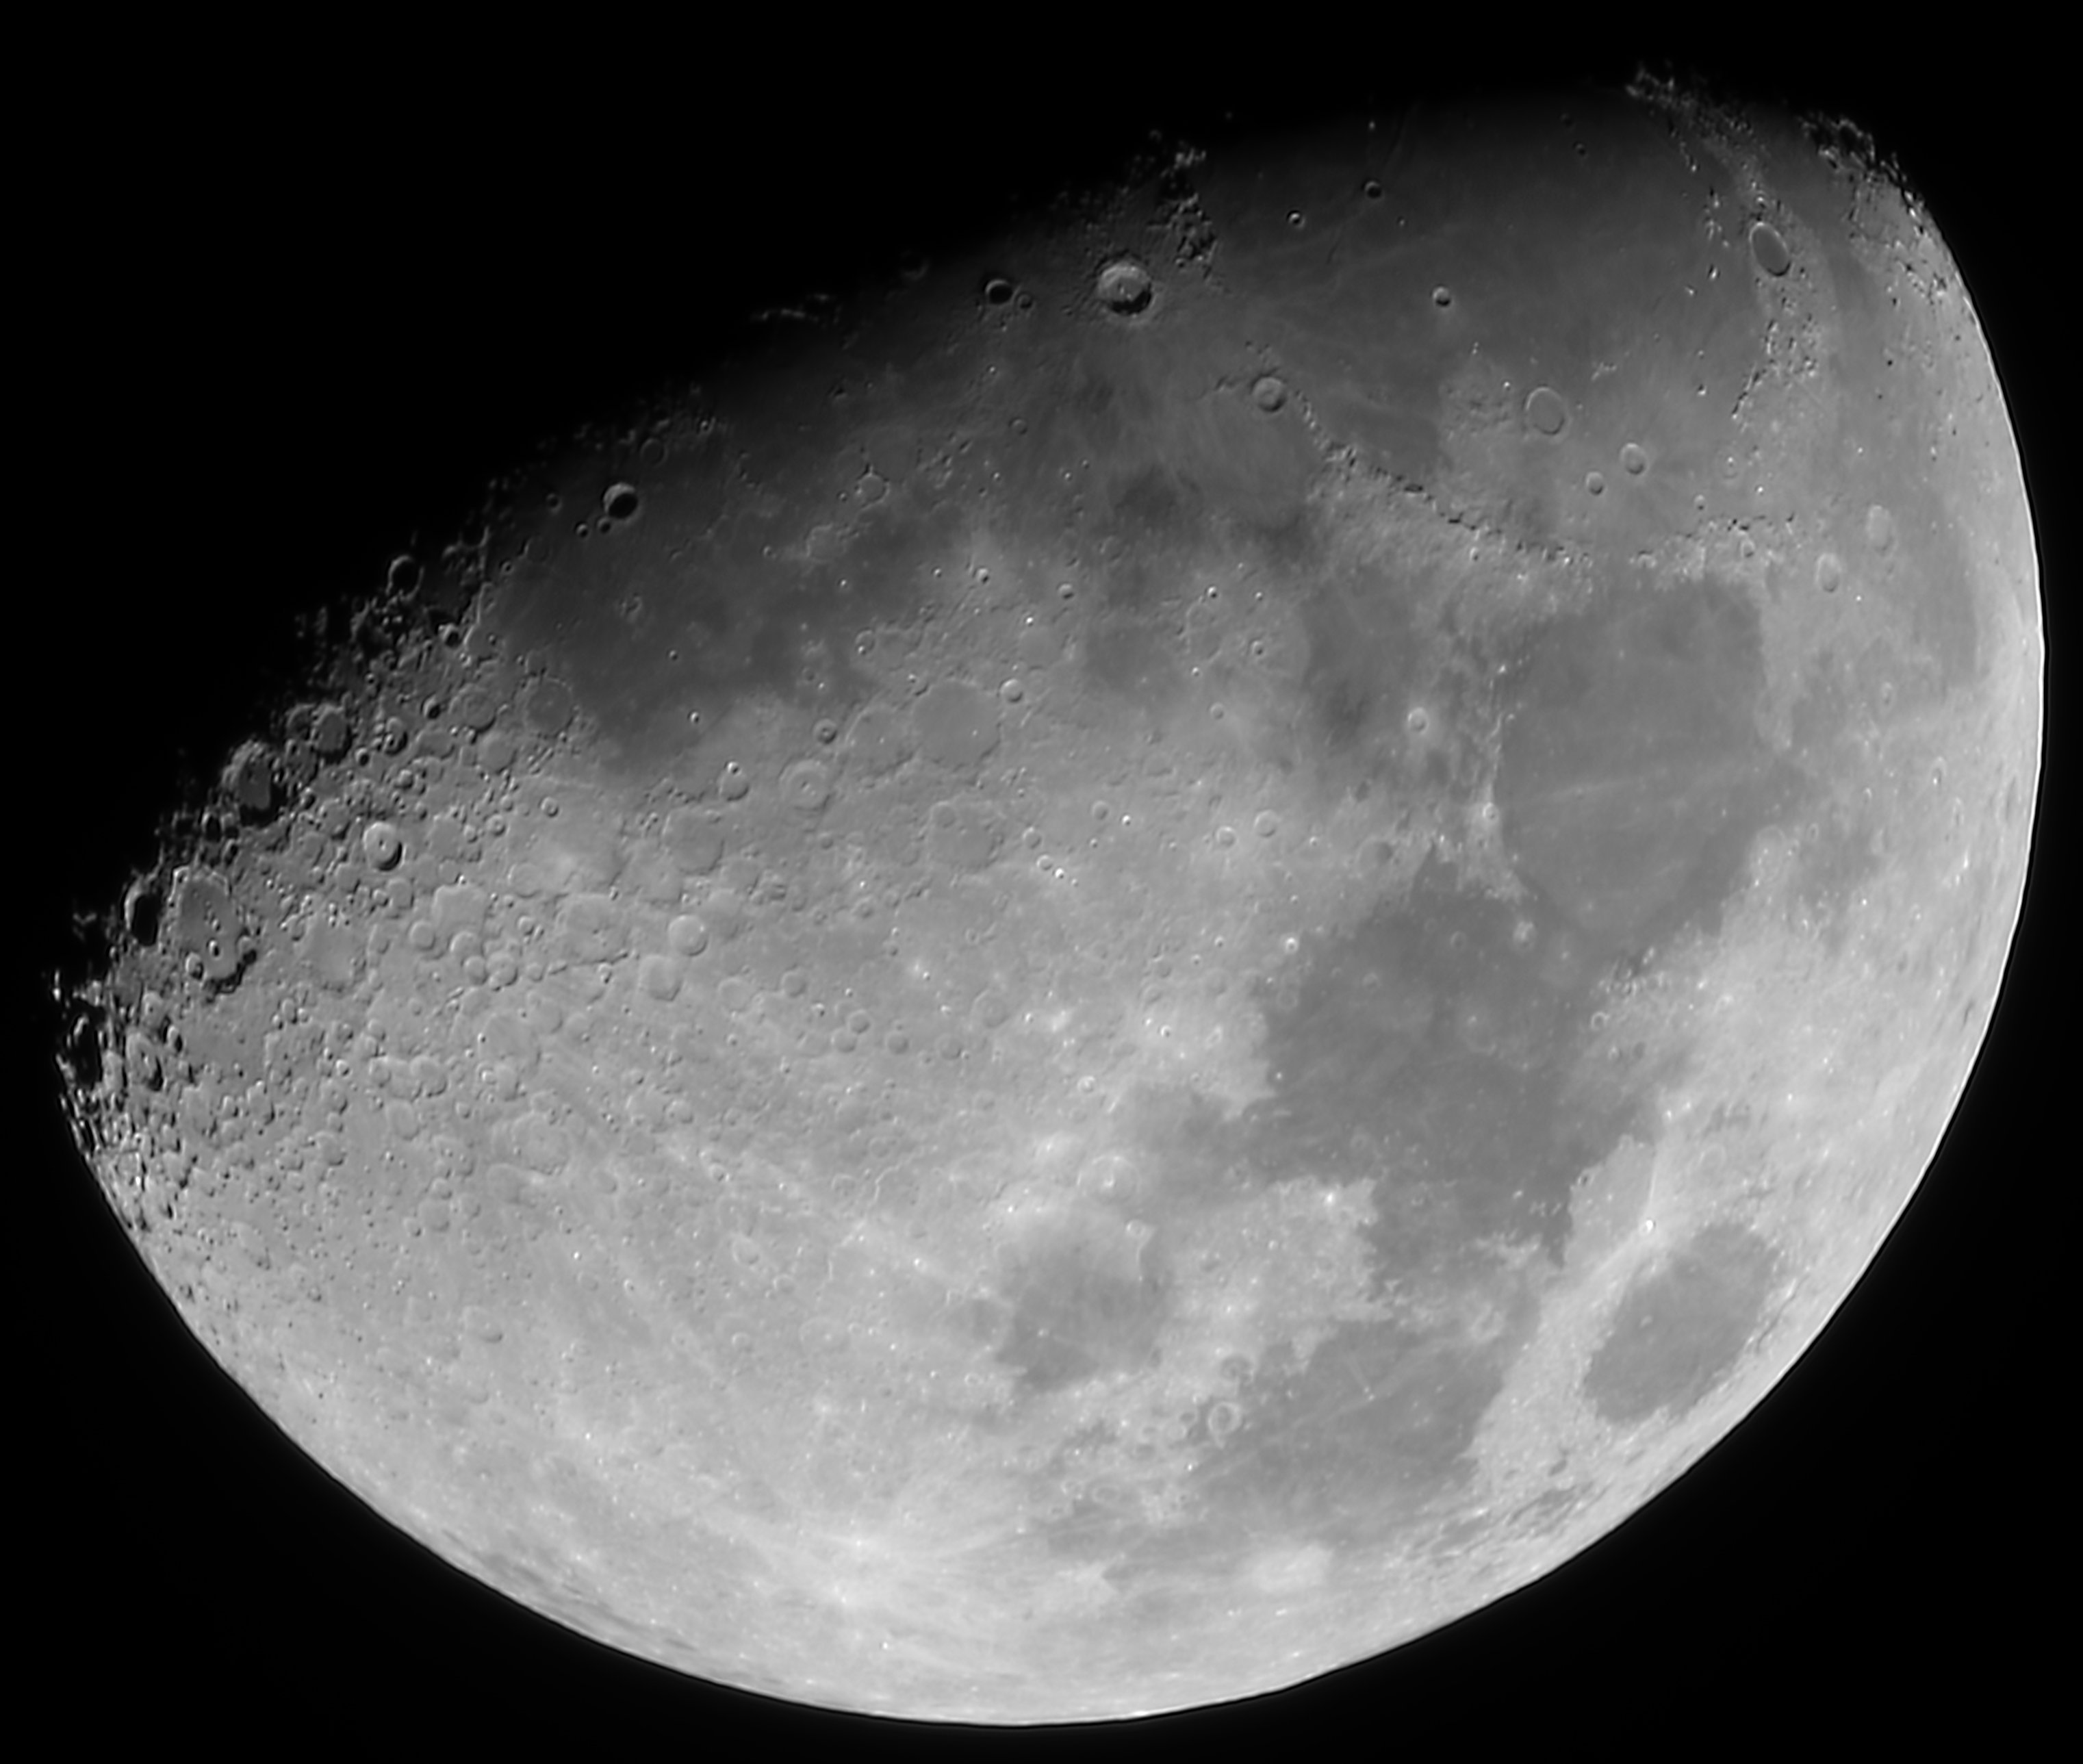
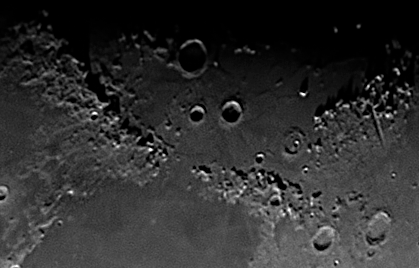
I shot this with my SV105 camera on February 10, 2022. Clear Highland air gave very steady seeing so I caught a lot of detail.
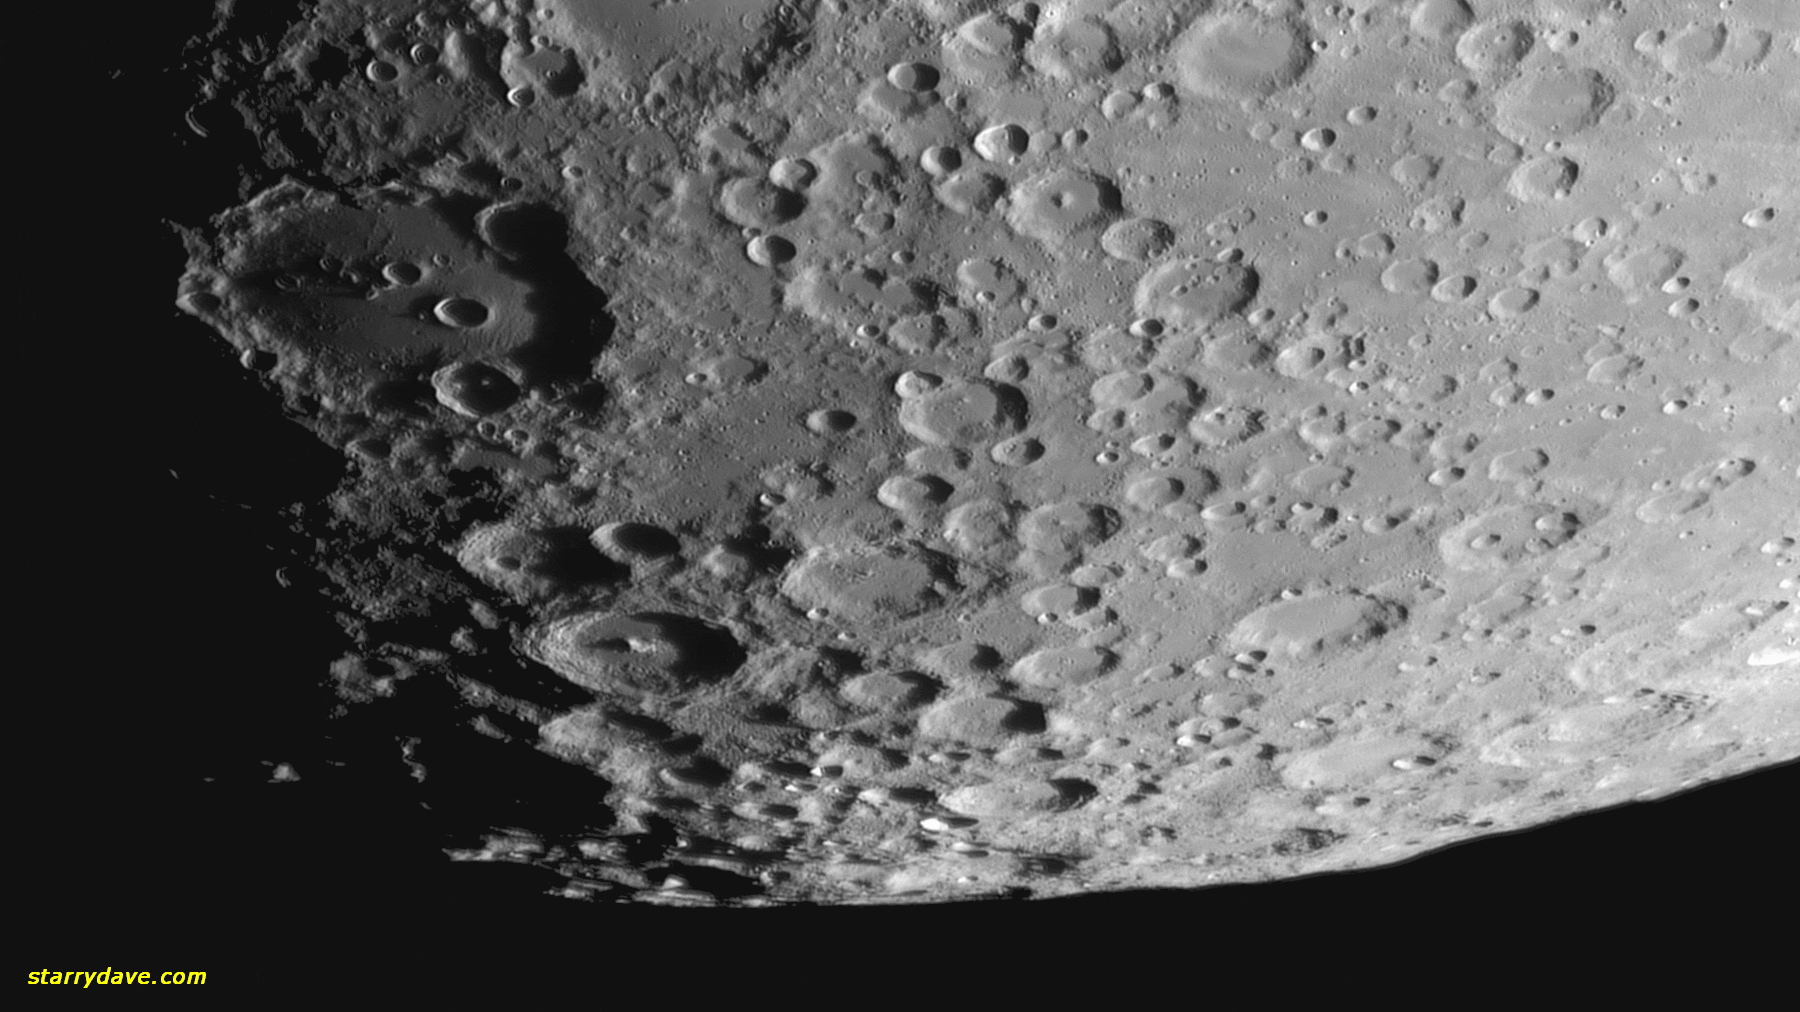
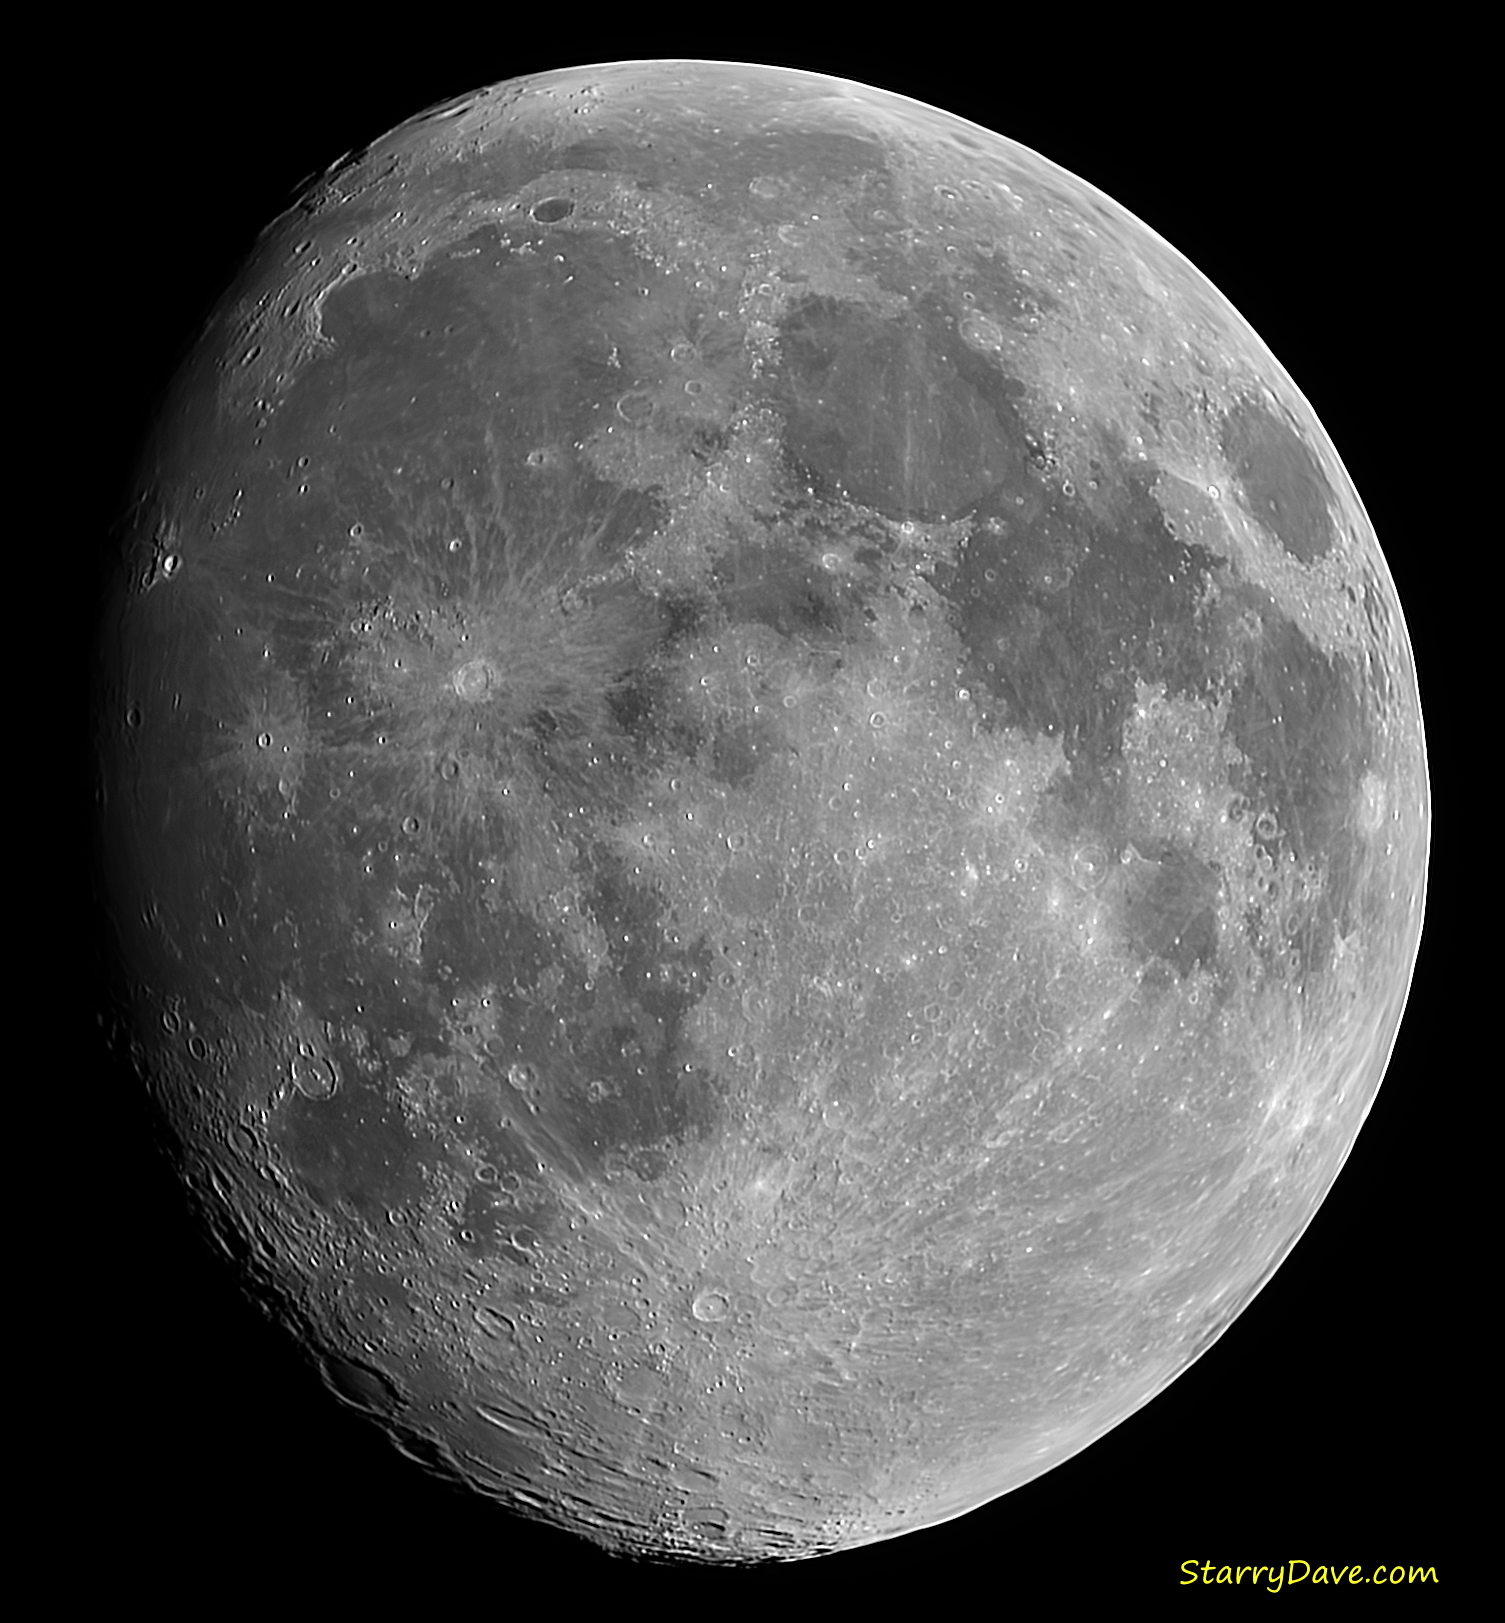
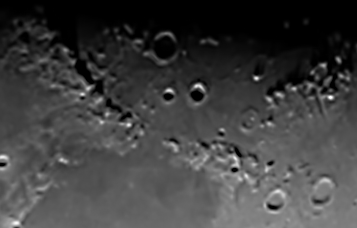
My new SV105 camera just turned up from China for £36 including 7 day delivery. Remarkable, considering a lot of UK vendors won’t deliver to Scotland. Worked straight out of the box so hooked it up to my 140Mak and left DSSR running overnight capturing a series of lunar mosaics. The best seeing was just before dawn and you can watch a flyover animation of the resulting mosaic below.
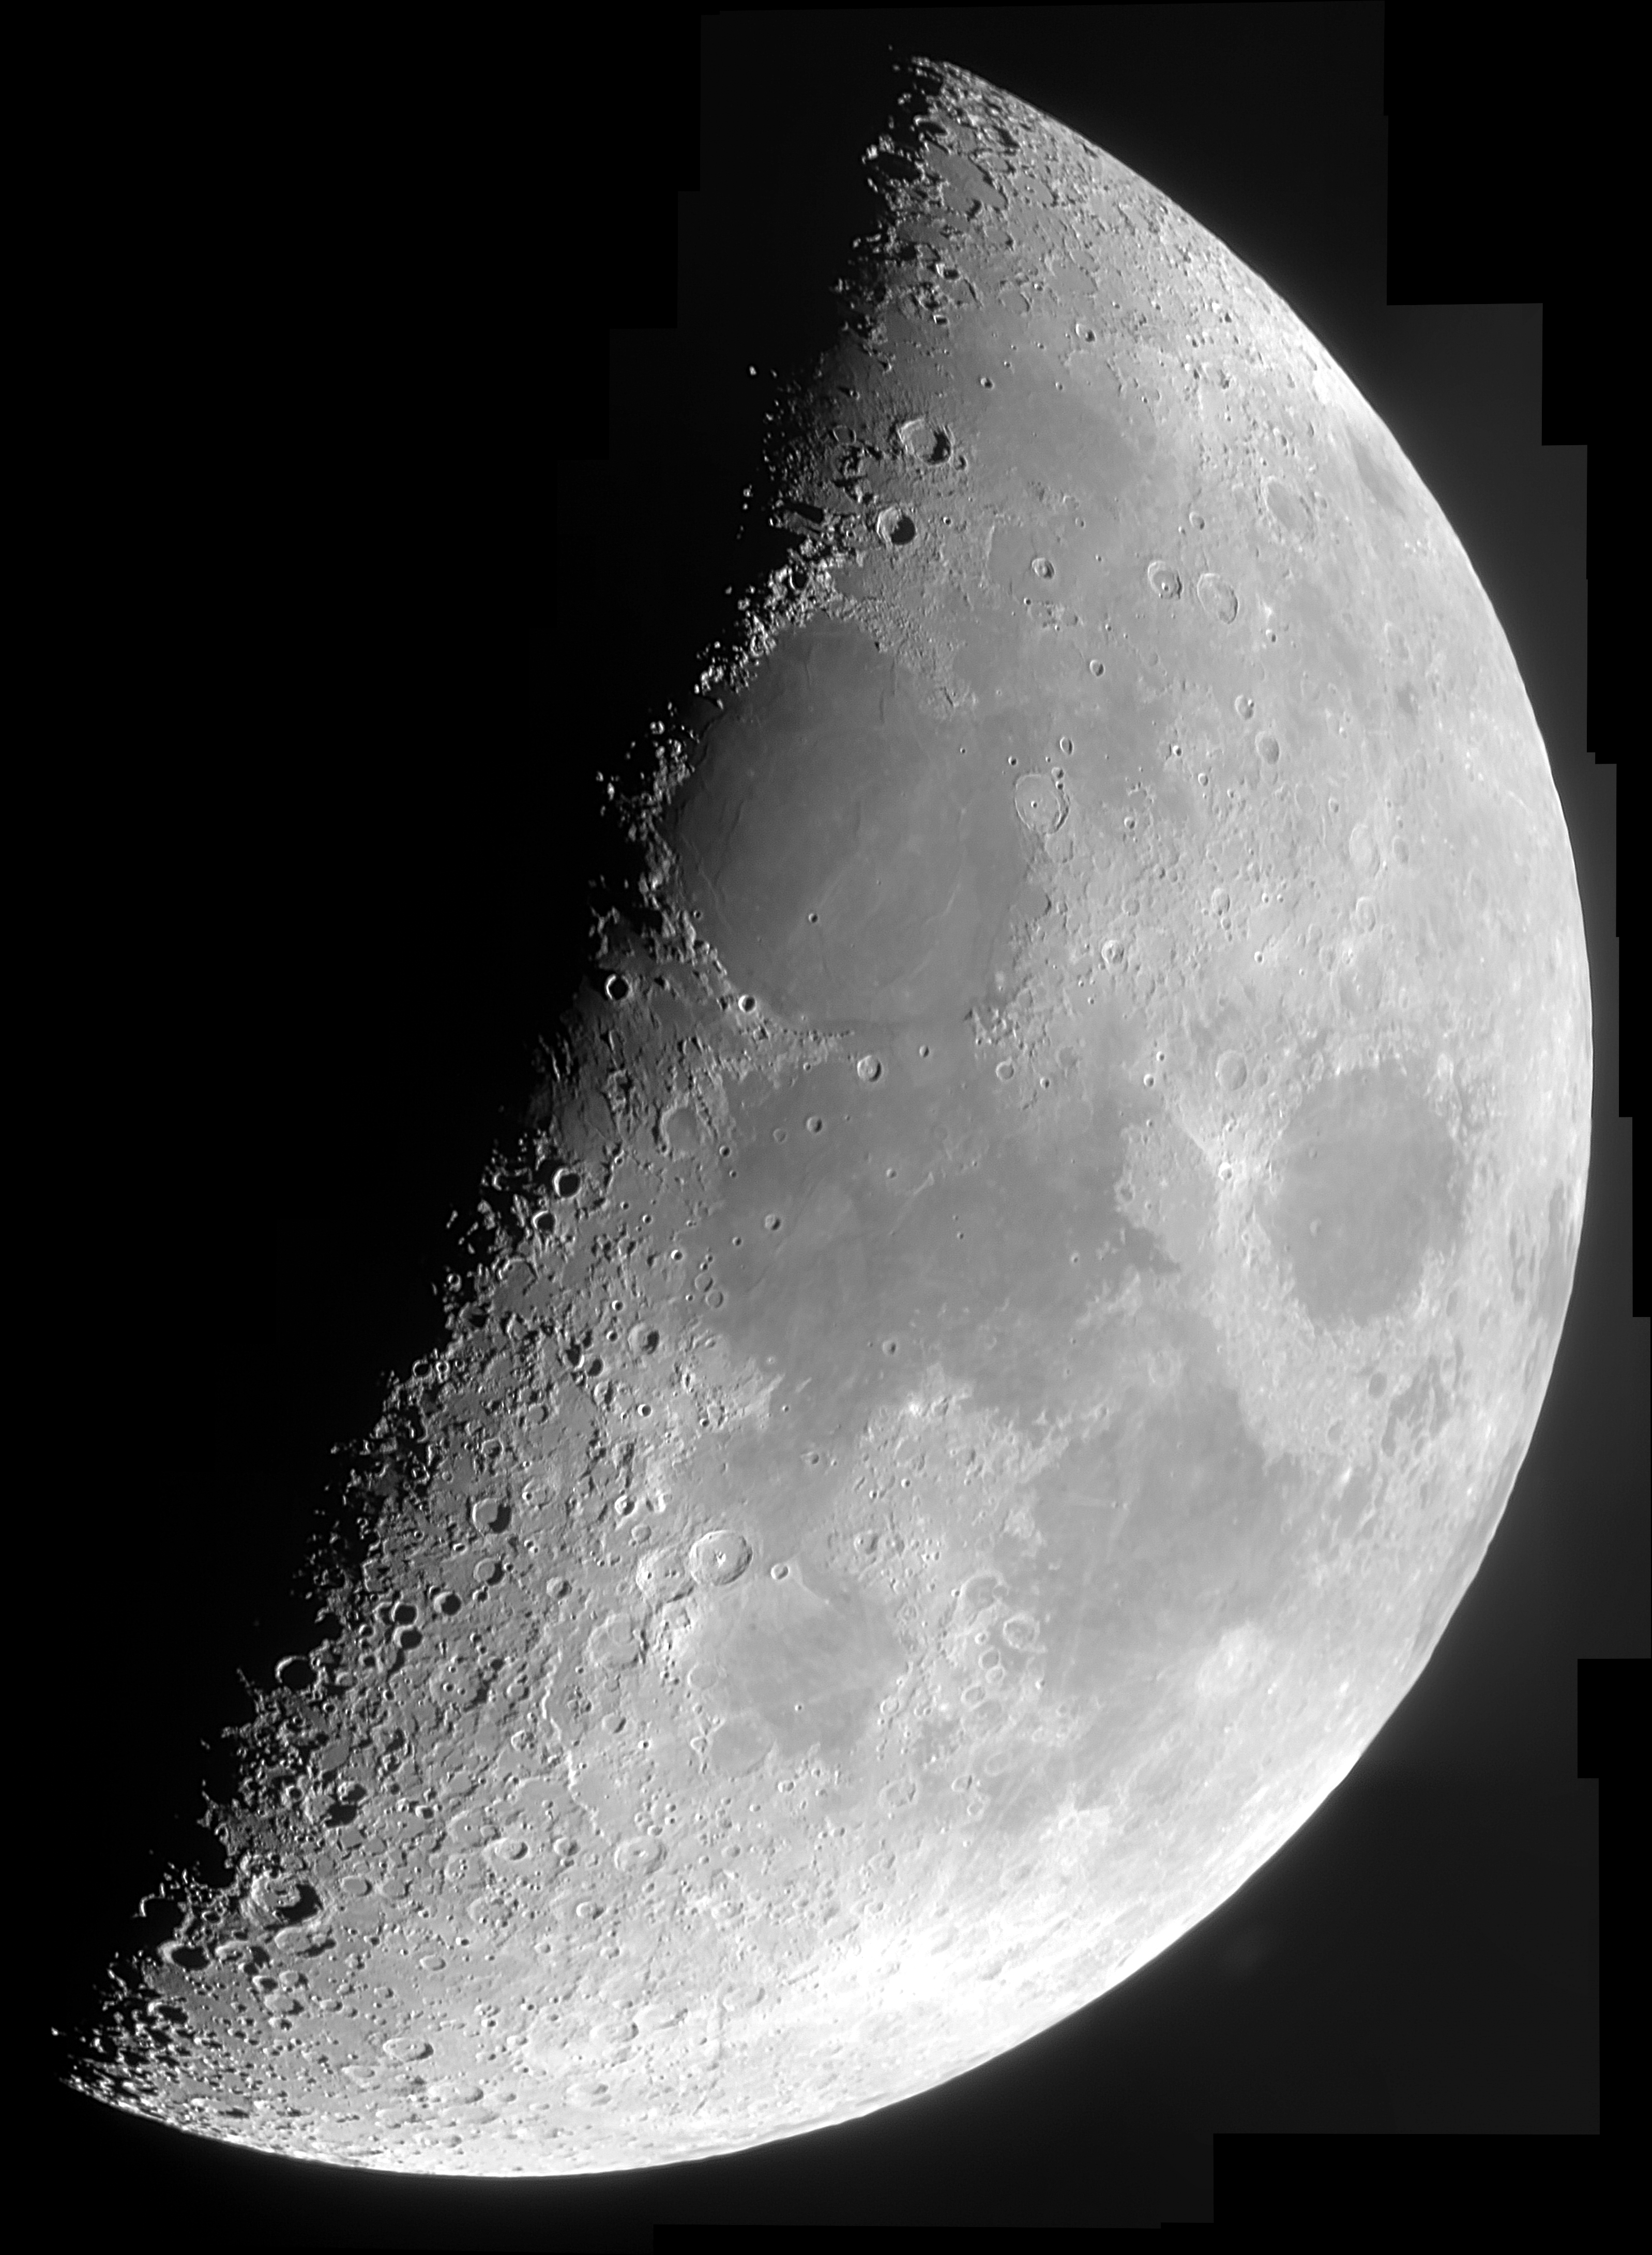
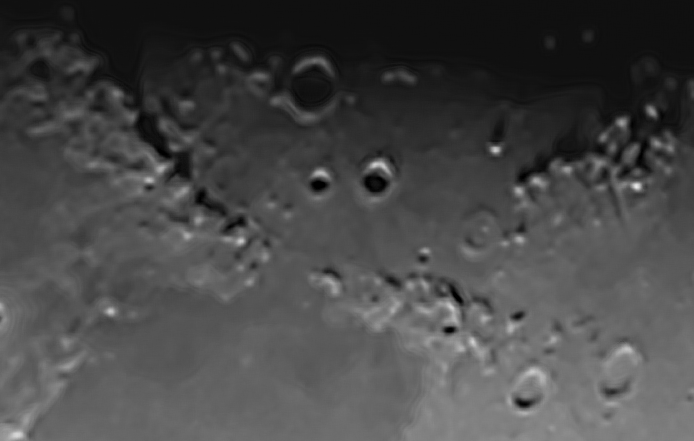
And below is another animation made on the 23rd January 2021:
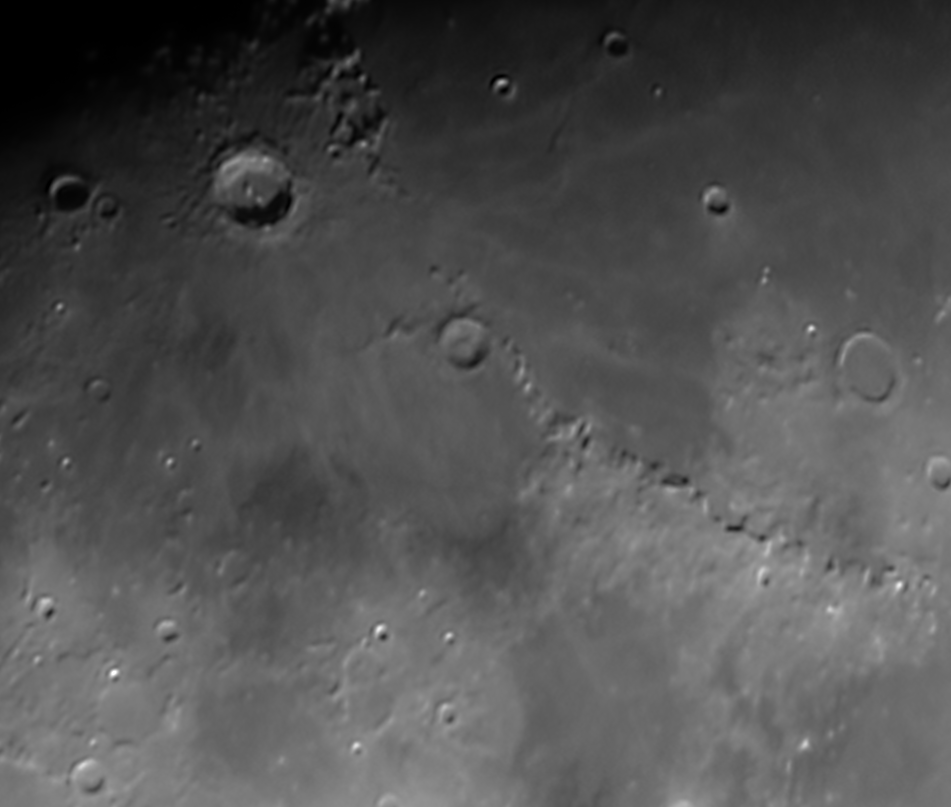
I took this with a second hand, grade C Canon A810 camera I got for £12 looking thru the eyepiece of my Nextar 4SE. Capture of 54x 30sec videos done in CHDK-PTP, stacking in AviStack, stitched in MS ICE and polished in Paint.NET.
These images were taken using my Canon SX530HS with its zoom set to 100x (2400mm EFL). Capture was controlled by CHDK AstroKam and autoguiding by DSSR. Best 500 of 1000 jpegs were cropped in PIPP, stacked in AS3! and wavelets in Registax.

The image above was captured using my SX530HS at 50x zoom on a standard tripod. The camera was running a CHDK script which locked it in continuous shooting mode to capture 1400 frames over 17 minutes. All frames were ISO100, f6.5 and 1/250s with autofocus on. I needed to nudge the camera now and then to keep the moon on screen.
Grayscaled and cropped in PIPP, stacked in AS!3 (75% best), wavelets in Registax6 and polished in MS Photos. Not as detailed as my previous 100x shots but much more convenient to capture. I can just pop out when I see a gap in the clouds. Next stop – try same method on the Sun.
And here is another captured in 15 minutes using the method above.
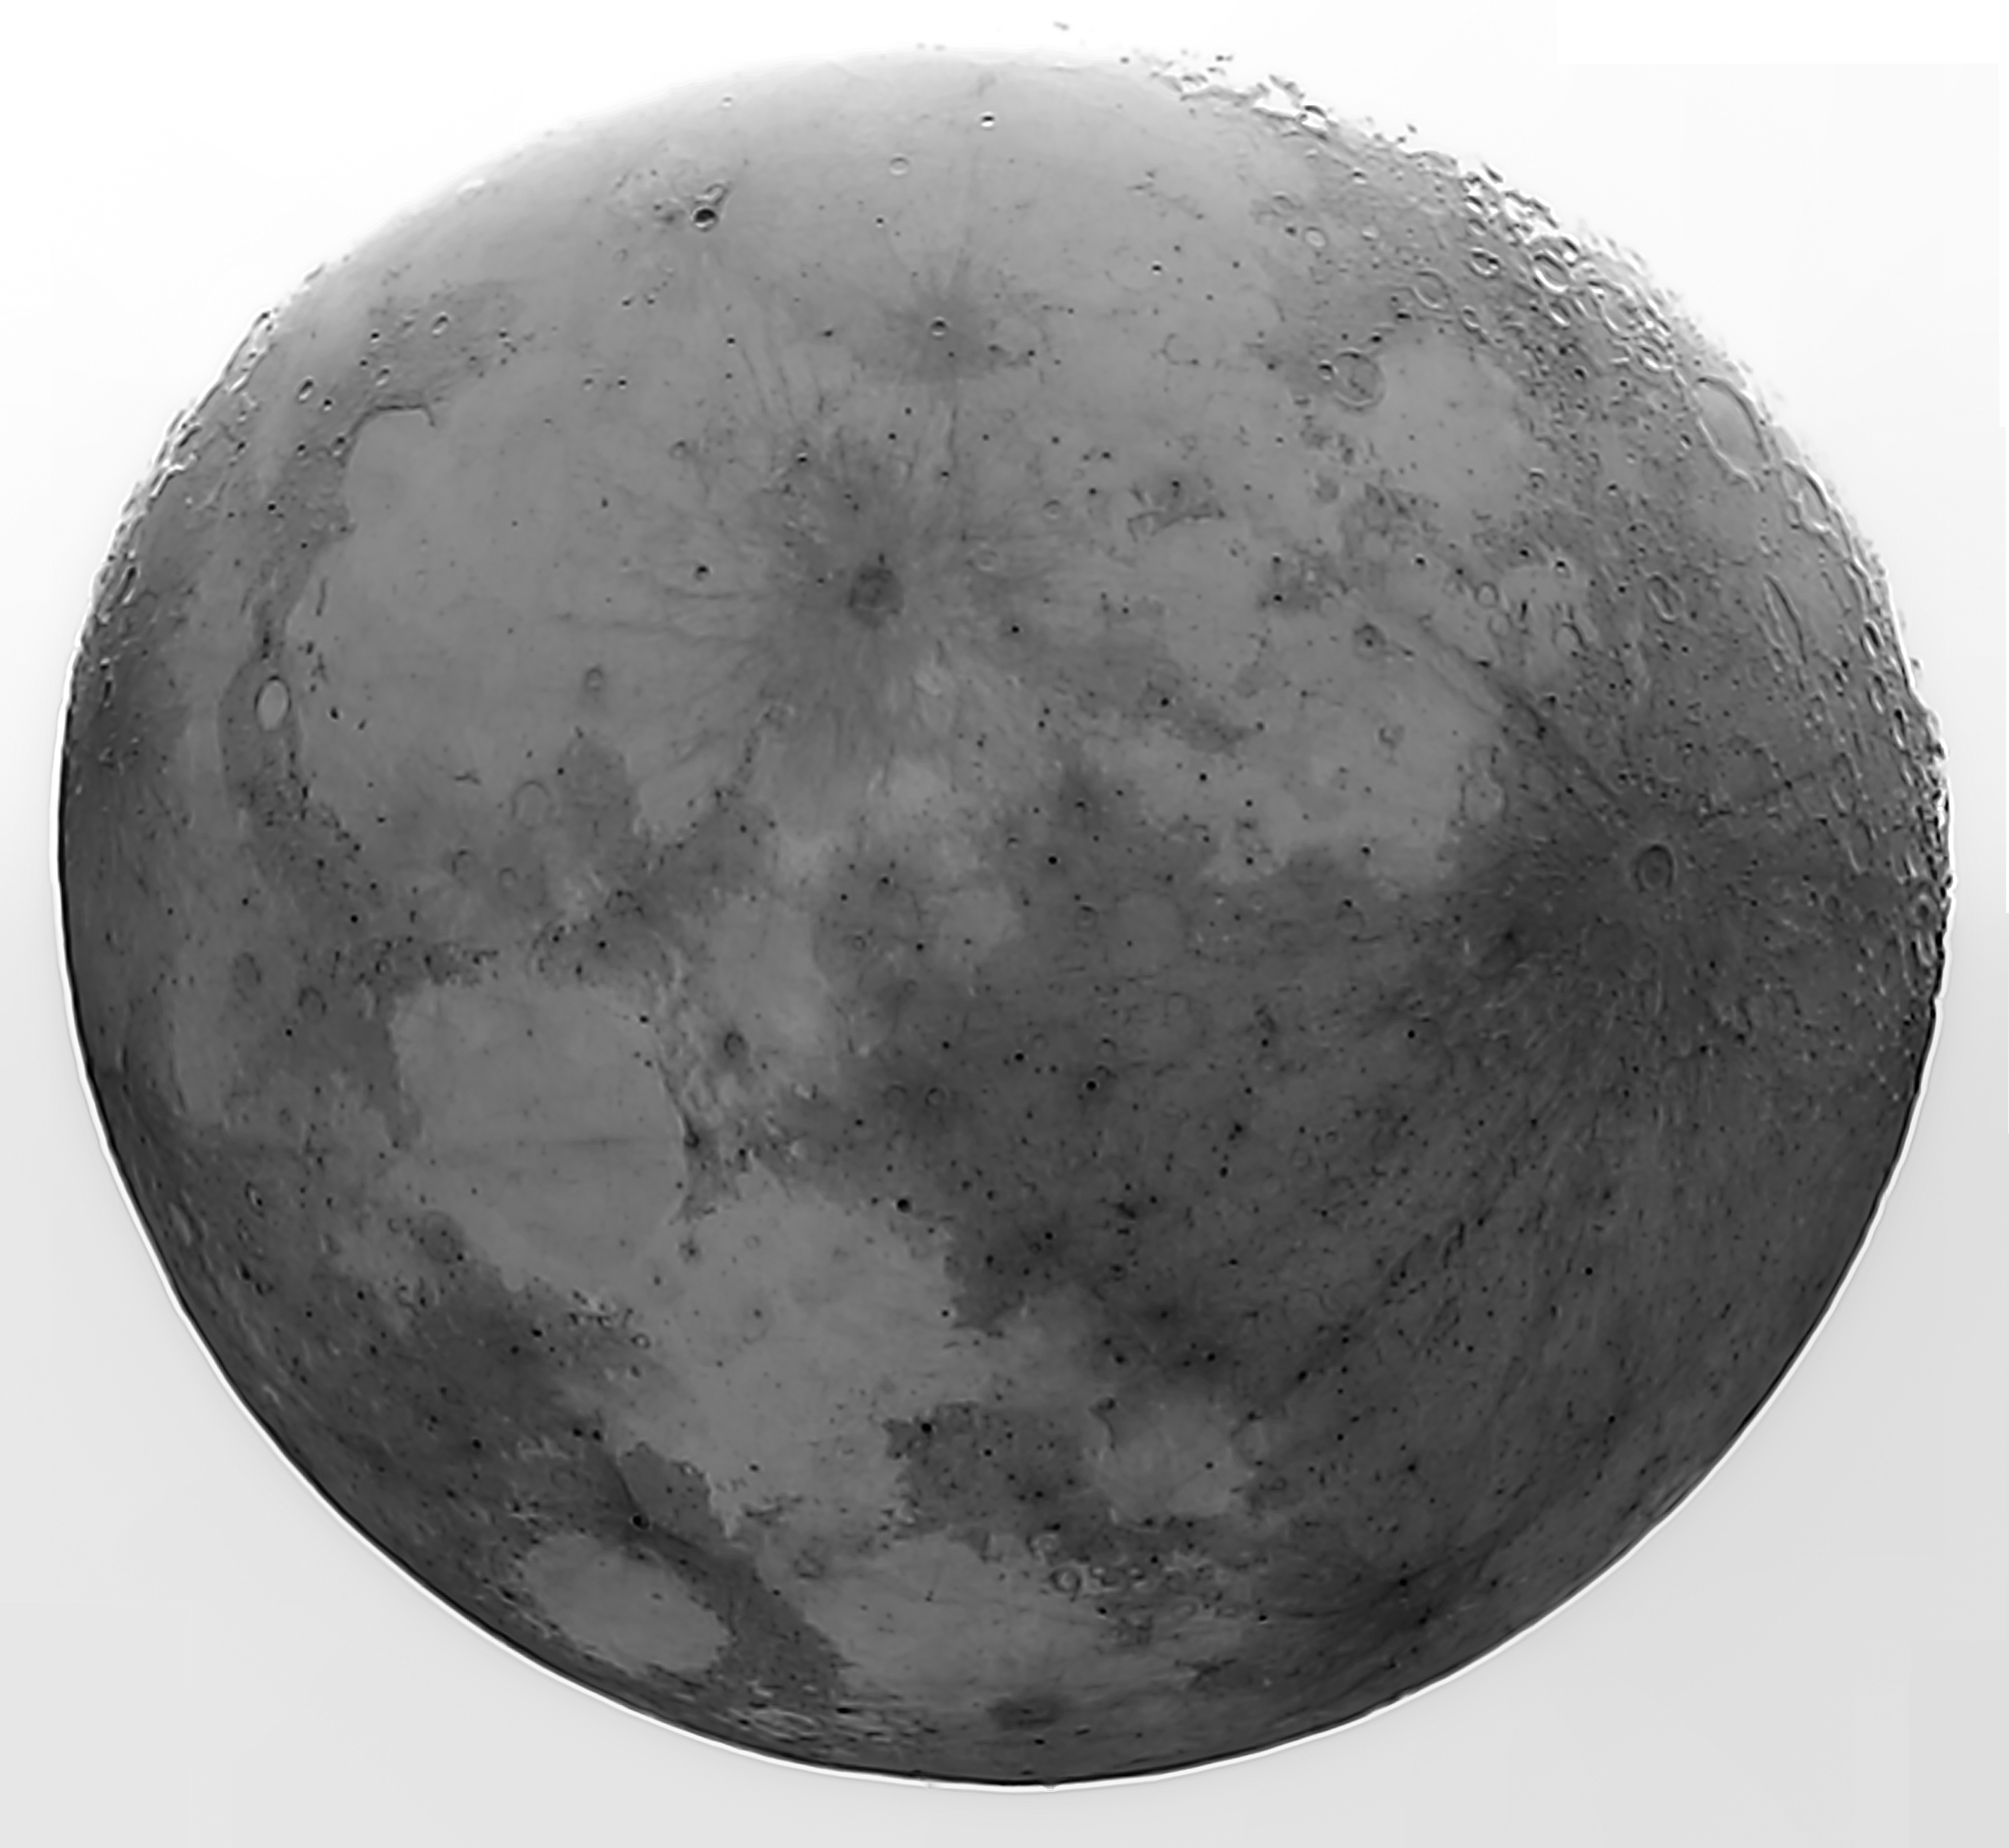
Below is a shot of the Moon I took with my amazing little Canon SX530HS camera.
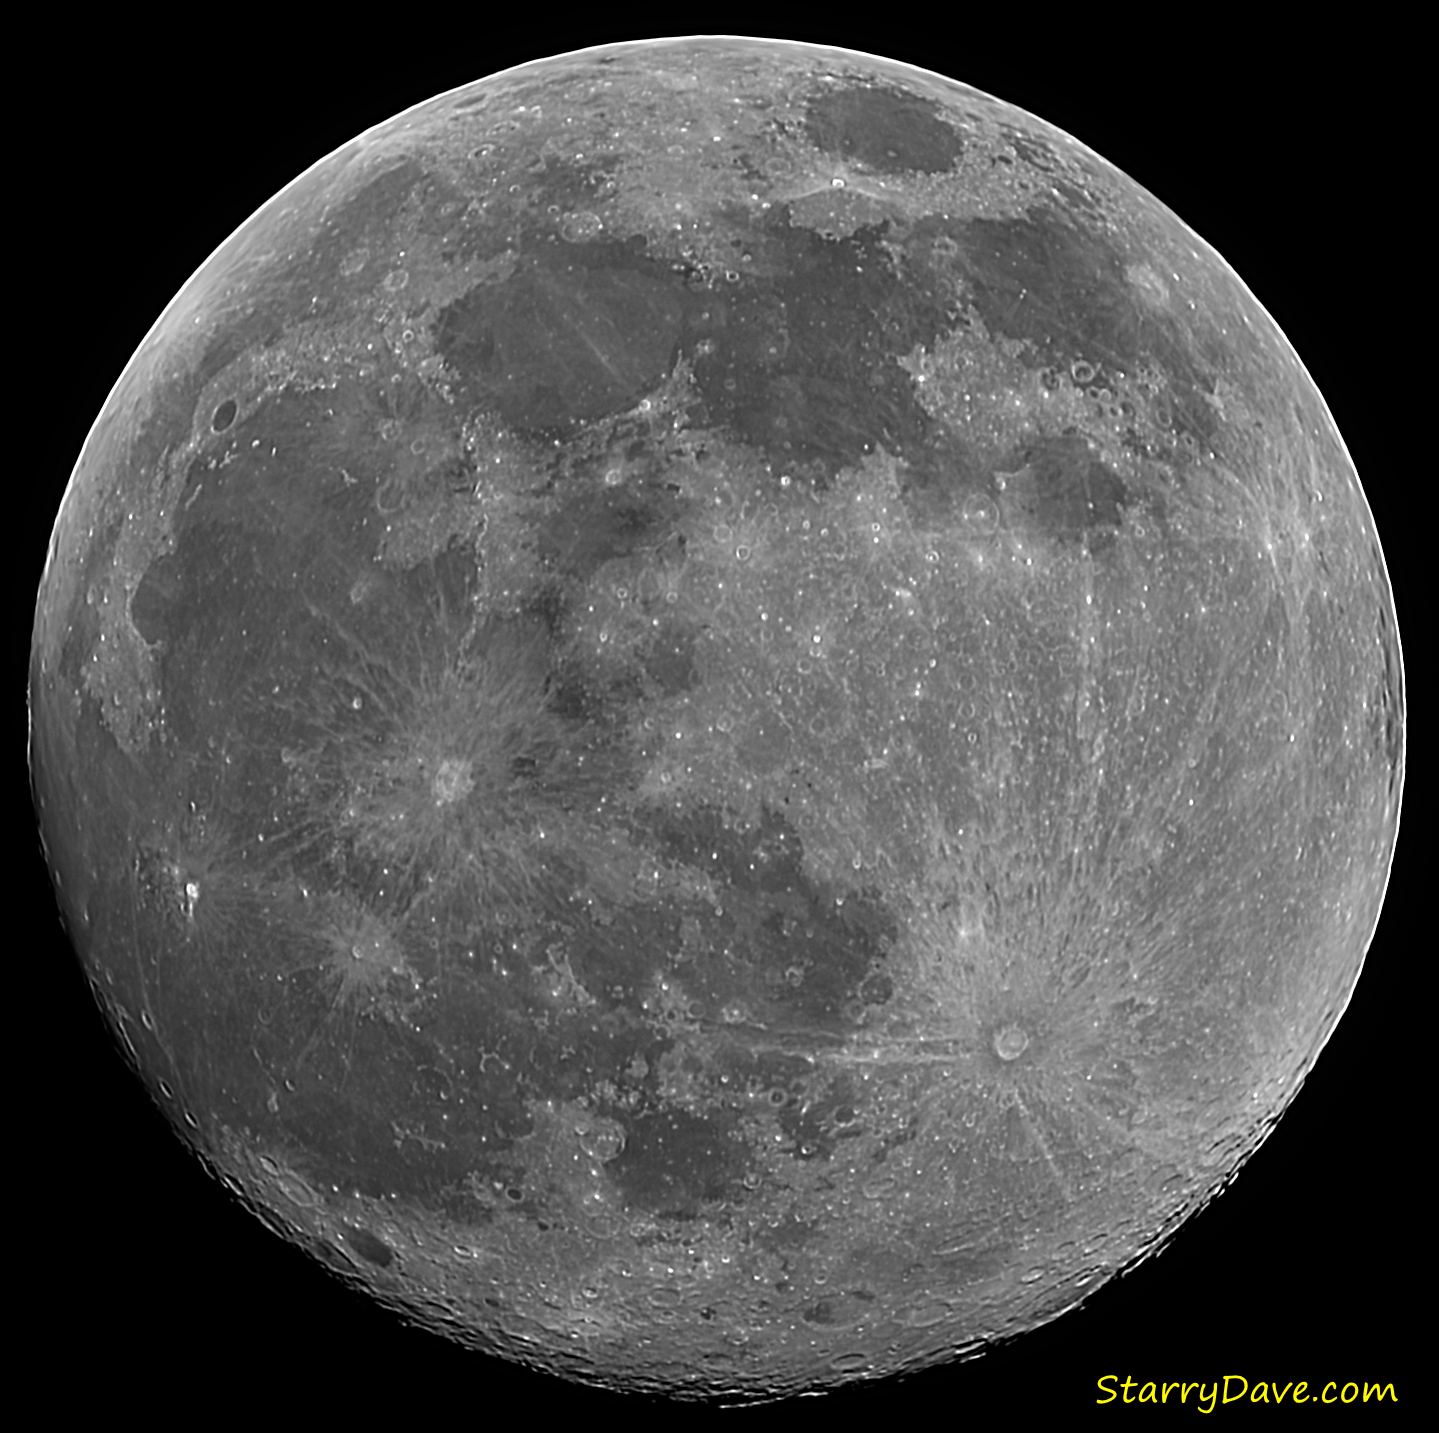
This was made from 400 jpegs shot at 100x zoom, ISO100, 1/160s, f6.5, AF-on which were captured in CHDK AstroKam. PIPP then grayscaled and culled this to 327 images based on brightness which were stacked in AS!3. Wavelets were applied in Registax 6 and final processing in MS Photos.
I also did some captures with jpegs at 50x zoom and 60sec videos at 100x and 200x zoom to discover the best resulting image. Below are crops of each method and I decided that 100x jpegs are the way to go in future.

And here is my latest Moon shot with my SX530HS at 100x zoom.
I just shot this with my Canon SX530HS at 200x zoom.
15x 60sec video clips captured in CHDK AstroKam, grayscaled in Virtualdub, processed in AviStack, stiched in ICE and inverted in Paint.NET. Focus was a bit off but still not bad for a second hand camera with no scope.