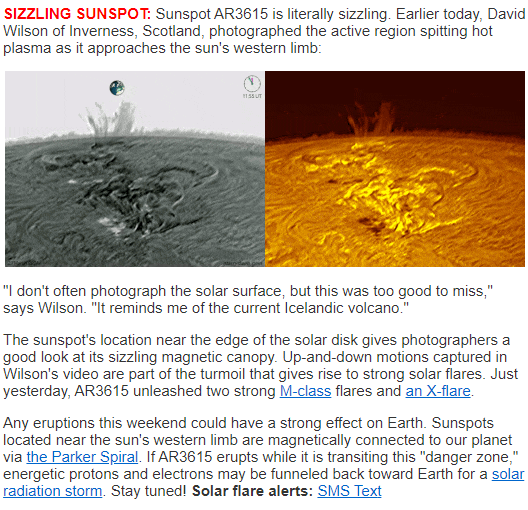
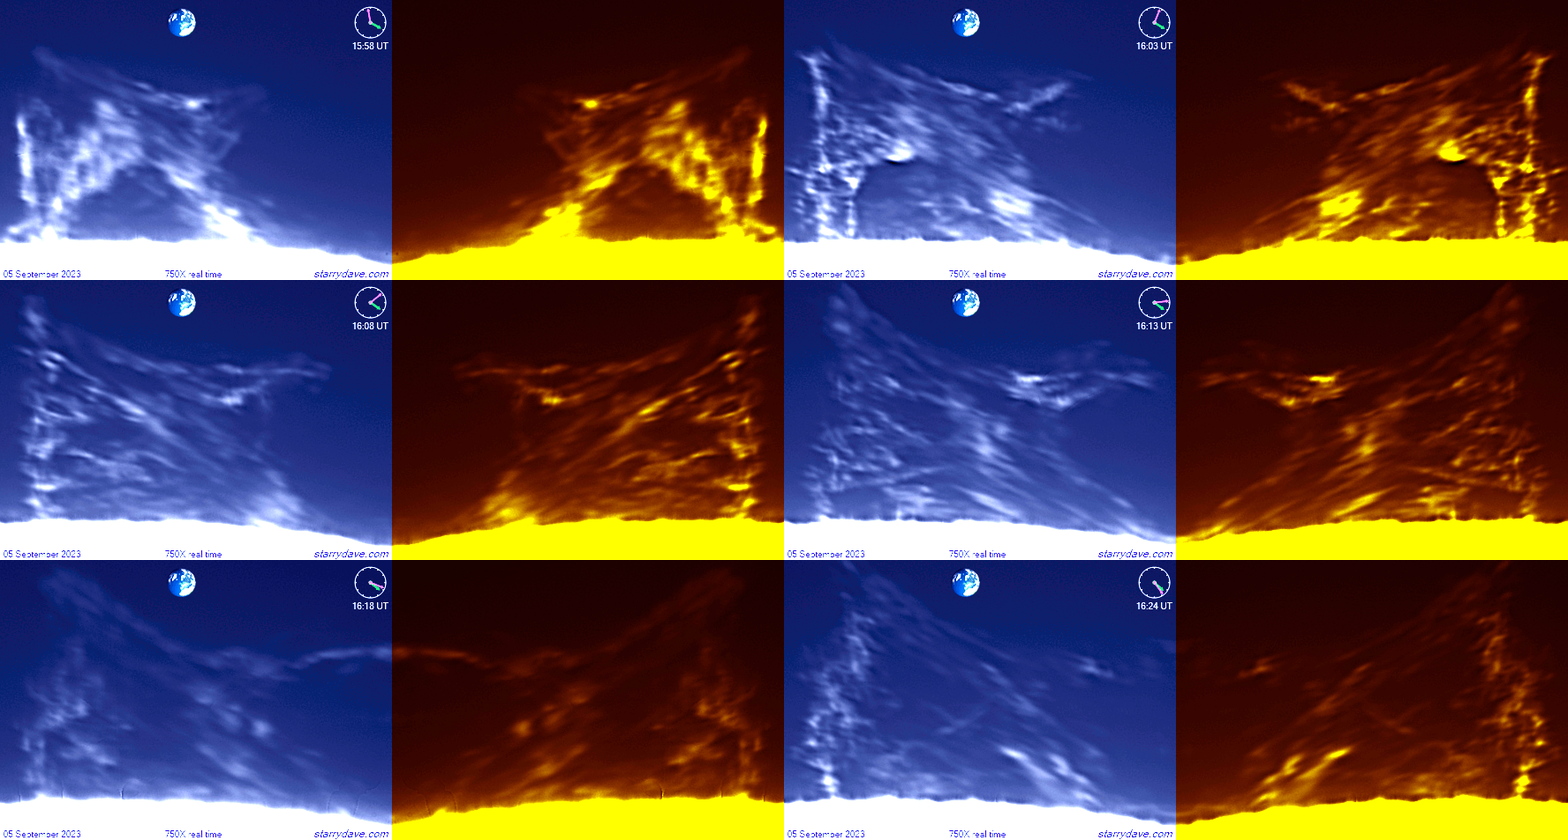
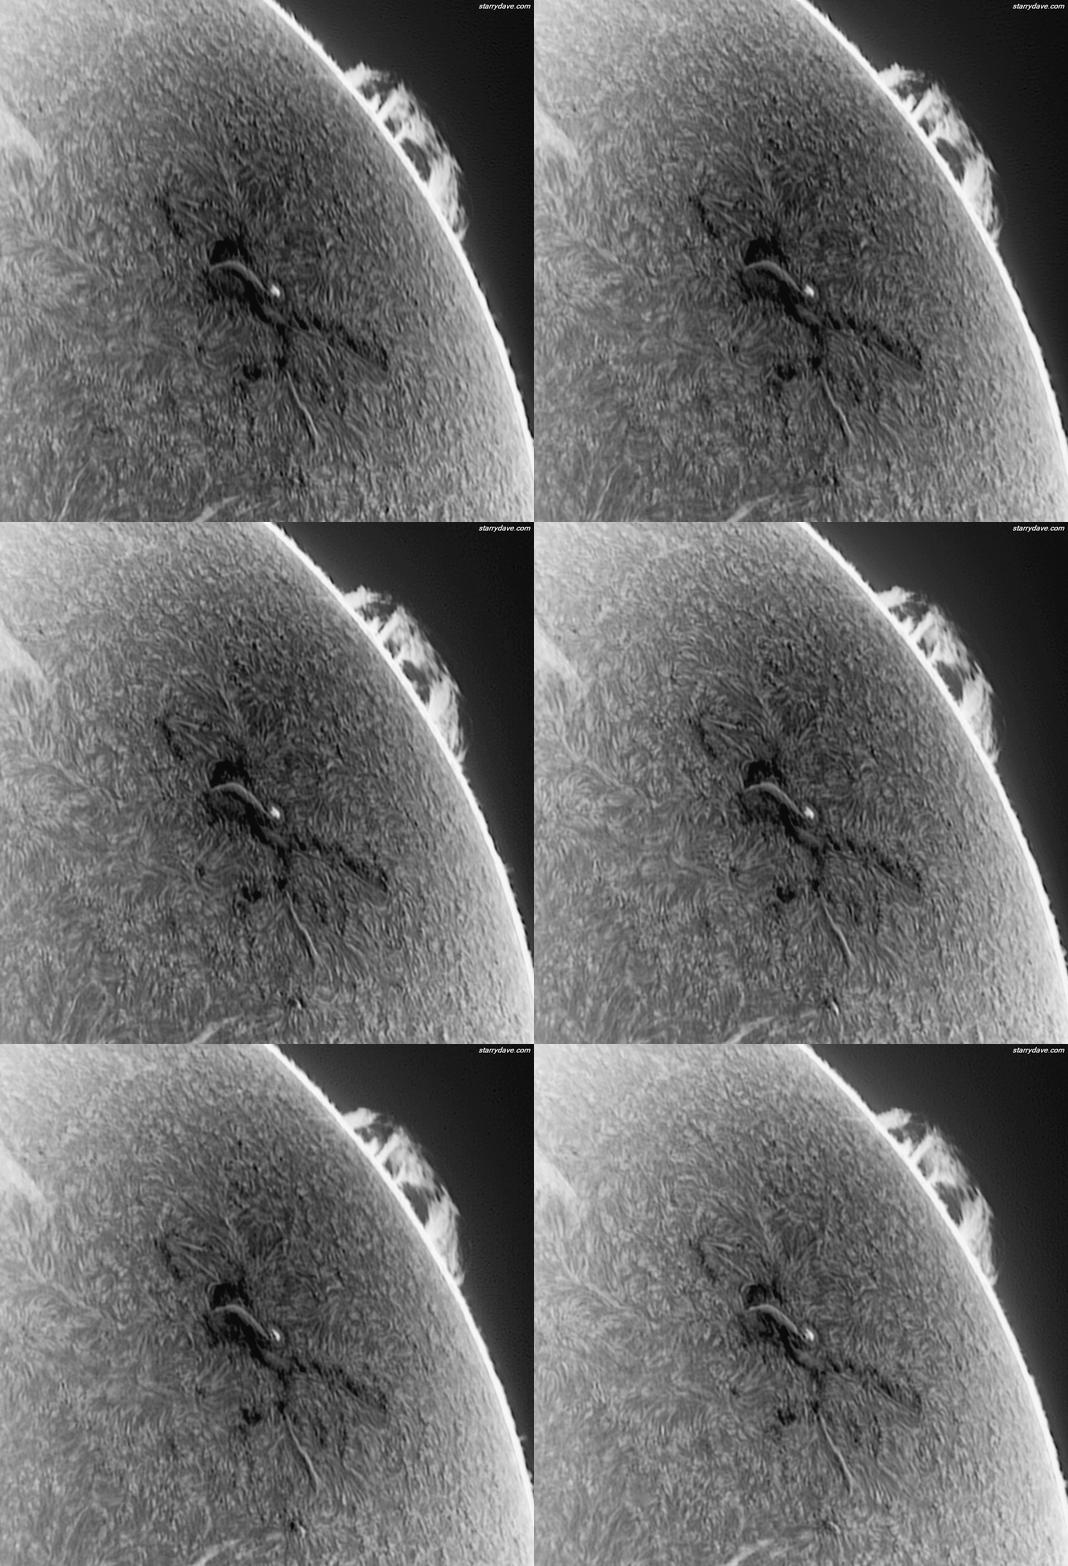
Lucky capture with my Coronado PST, Powermate 2.5x and DMK21 combo.
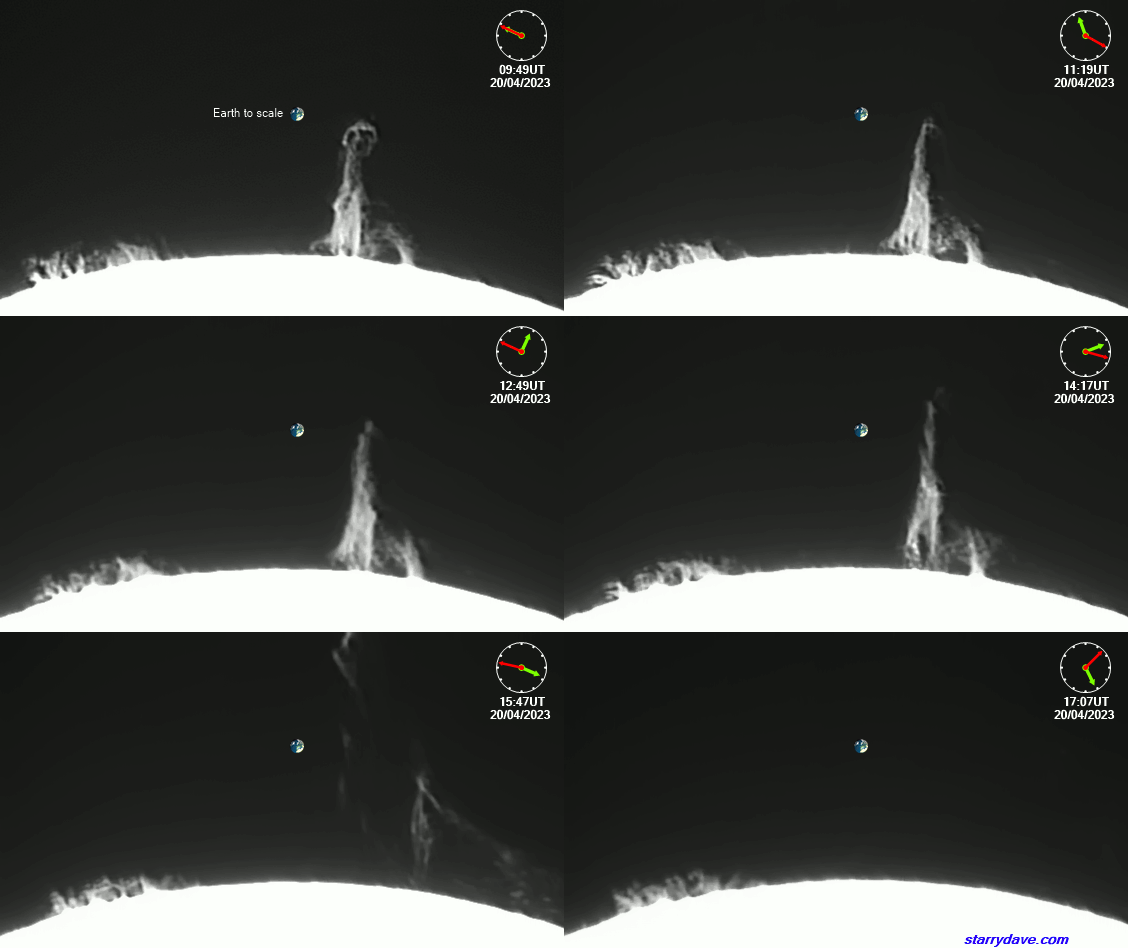
Lucky capture with my Coronado PST, Powermate 2.5x and DMK21 combo.
Here is a preview of my latest app DVC which is used to clean up astro videos.
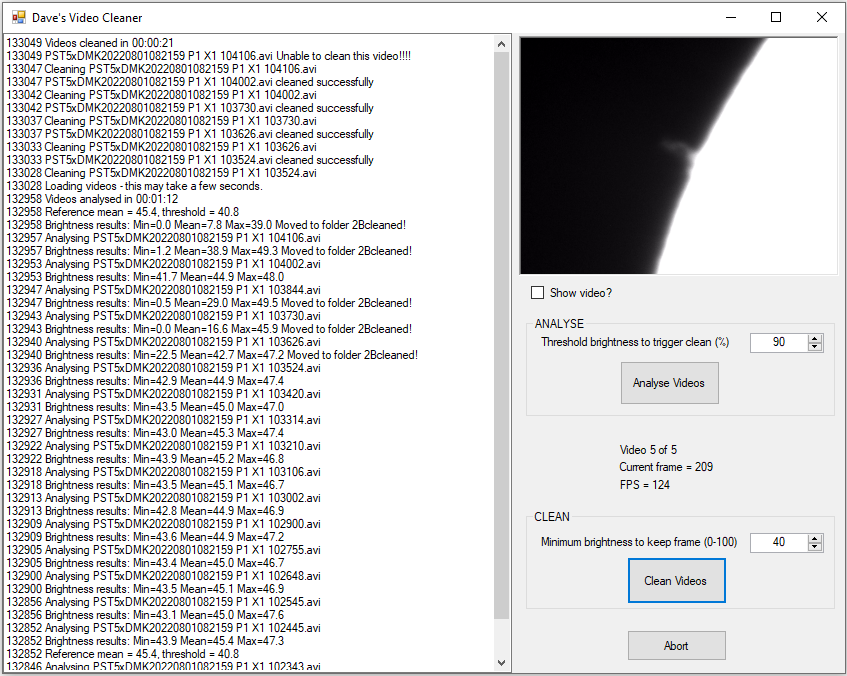
I capture hundreds of videos using DSSR over several hours to create my solar animations. These are then batch processed by Registax or Avistack. However, any dark frames caused by clouds can cause glitches or even shutdowns for the stackers. DVC works by first analysing the brightness of every frame in every video. Any videos with frames that are too dark are moved into a folder called “2Bcleaned”.
DVC then processes the videos requiring cleaning and creates a copy video with the darker frames removed. These can then be included with the ‘clean’ videos and batch processed by stacking software with no problems.
This animation shows 8 hours of solar activity caught with my Coronado PST on June 23rd, 2022. Software used was DFM, DSSR, Avistack, Gimp, Advanced Renamer and DVS. It repeats in reverse so you can see the Sun’s rotation.
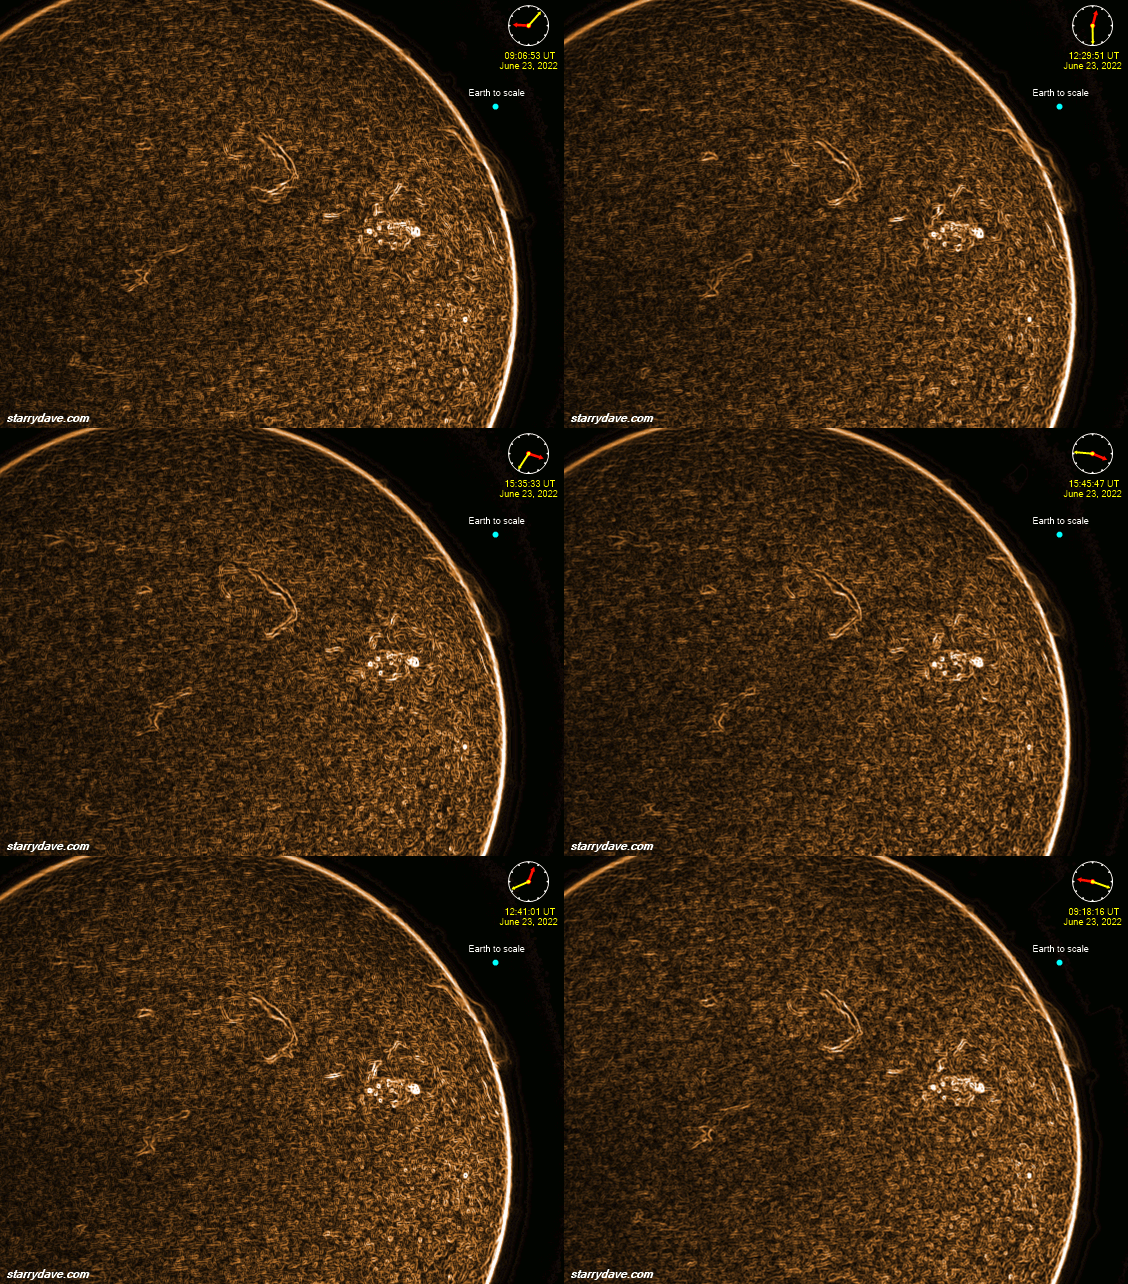
I also managed to catch a jet passing the Sun which is below at half speed.
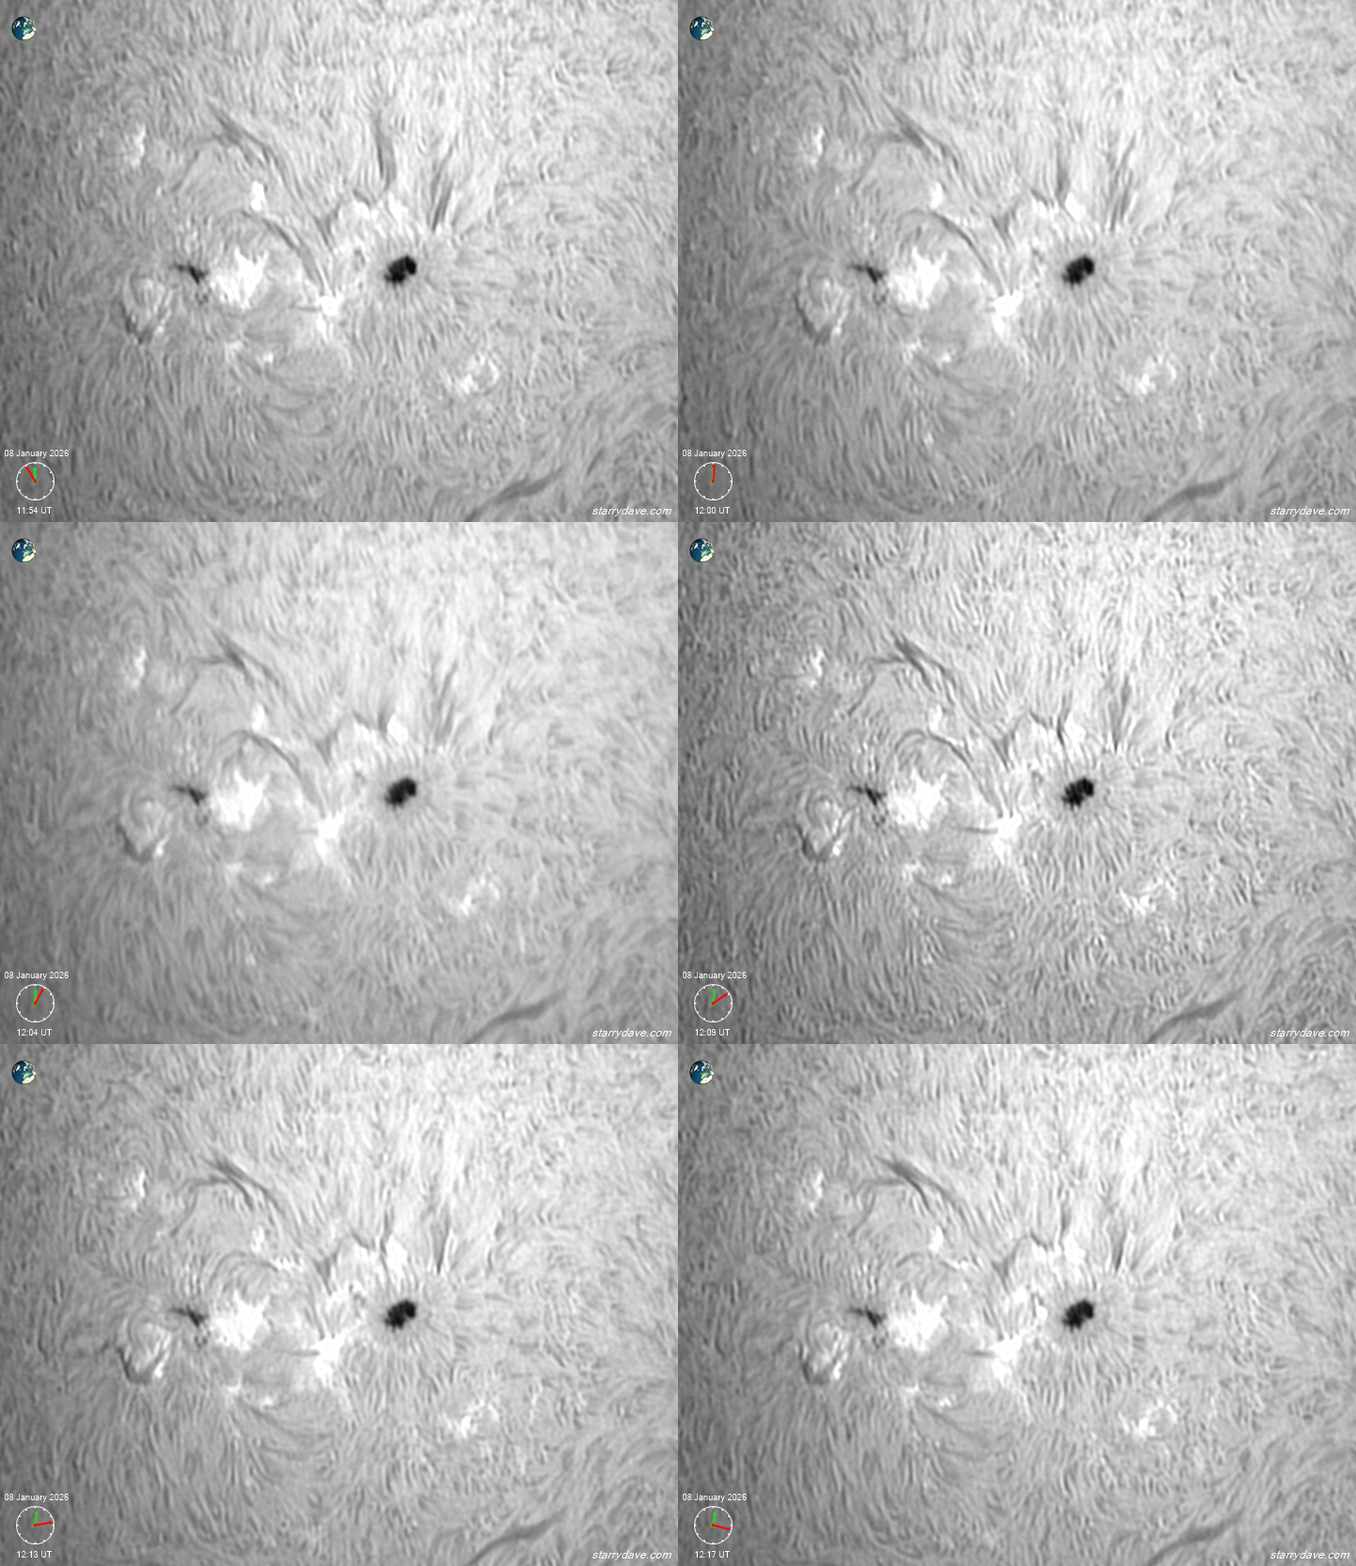
This is a compilation of my solar animations made between 2012 and 2020. Most were made with a Coronado personal solar scope and DMK21 camera. Watch out for the Mercury 2016 transit at the end.
This was taken with my Coronado PST solar scope from Inverness, Scotland over 8 hours of sunshine. It repeats a couple of times at different speeds so you can watch the action.
I was very lucky during the transit because an early morning haar burned off just before the transit and we had mostly clear blue skies above Inverness, Scotland for the rest of the day. This let me capture most of the transit until the Sun sunk below my roofline. Here is the animation I produced from the results (some jerkiness is caused by occasional clouds).
You can see the transit near the end of this compilation video.
Equipment and Software Used
Technique
I had intended to use my PST at prime focus to capture the transit but I changed my mind just after the start and zoomed in with my barlow. Mercury made a perfect autoguide target for DSSR and I only had to guide manually when a telephone cable went in front of the Sun. DSSR automatically recorded 669 consecutive videos, each 30 seconds long which were batch stacked and processed in AviStack.
I used DVS to stabilise and animate the AviStack images and add the clock, text and scale Earth. The scale Earth threw me for a while because Mercury is only 38% the size of the Earth and it looked far too big when I added my standard scale Earth. It took me a while to realise that Mercury and the Sun are at different distances from Inverness so I added 2 scale Earths.
I love pushing the limits of low cost astro equipment so I am delighted that my £70 Pipo X7 PC was able to act as my observatory workhorse.
I have been working with Sylvain Weiller to implement his drift method of video capture into DSSR5 beta. This method moves your scope around a target feature while recording video. Stacking apps can integrate this video to produce an image of the whole scanned area. This effectively quadruples the area of your imaging sensor and also removes the dreaded Newton’s rings.
DSSR5 allows you to scan along single axes (right ascension or declination) or dual axes with the option of backlash take up. The dual axes mode moves around a rectangle 1>2>3>4>1 with a sawtooth edge profile (to eliminate stacking artefacts) like so:
We are still working out the best processing workflow to handle these scans so I have uploaded a full disk and detail scan (zipped AVI in Y800 codec) so others can experiment. Please let me know thru my user group or other groups I posted this link to on how you get on and what worked for you. The files are here:
Sylvain managed to process these files in Registax 5 before he went on holiday and his results are below. Notice the extra imaging area compared with the normal 1/4″ ccd field of view and the total absence of the Newton’s rings which were very obvious in the detail video.
Update July 13th
I had a go myself using AviStack and here are my uncropped results. Very close to a good result but I need to close up the missing pixels.
Andrew Cool of SkippySky noticed an interesting result from the AviStack processing results. The Frame Shift graph actually captures the scanning path with sawteeth very well. It also reveals that my mount needs to be more accurately aligned because the red and blue lines should end on zero.
I have just been testing DSSR5’s rewritten scan feature. This effectively triples the area covered by your imaging chip and also completely eliminates Newton’s rings. Here is how it works on a PST – DMK21 – PowerMate 2.5x setup.
It also allows you to take full disk images of the Sun with a PST and DMK21 at prime like below.
DSSR5 is currently only available to members of my user group but will be released publicly soon.
The scanner uses the same file format as DSSR captures so that DVS can automatically add the date and time like the 1123×673 pixel scan below.
DSSR5 has a new scanning feature which enables cameras with small chips to produce images of the entire sun. I tried it with my DMK21 (1/4″ CCD) at prime focus on my PST which looks like this during capture.
I then used the new scan function to automatically record a 5 minute video of the Sun while DSSR steered the scope to cover the entire solar surface. Registax then did its magic to produce this full disk image below.
This is a lot easier than mosaics and it looks like the method smooths out the PST hot spots as well. (It’s also a lot cheaper than a 1/2″ chip camera:-)
A very big thanks to Sylvain Weiller for suggesting this feature and helping me bring it to fruition.
Below are some recent scans – all taken with a 1/4″ DMK at prime focus on a PST.