DSSR Drift Alignment

 Deep Sky, Tutorials  Comments Off on DSSR Drift Alignment
Jan 202015
 

I normally keep my mounts poorly aligned to allow testing of DSSR’s autoguiding feature. However, I wanted to take some deep sky shots so thought I better drift align first. Drift aligning is done in 2 steps and you can use the Sun, Moon, planets or stars as drift targets.

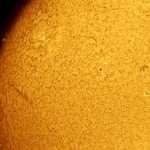
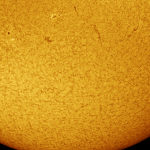
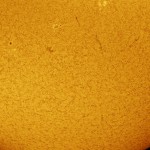
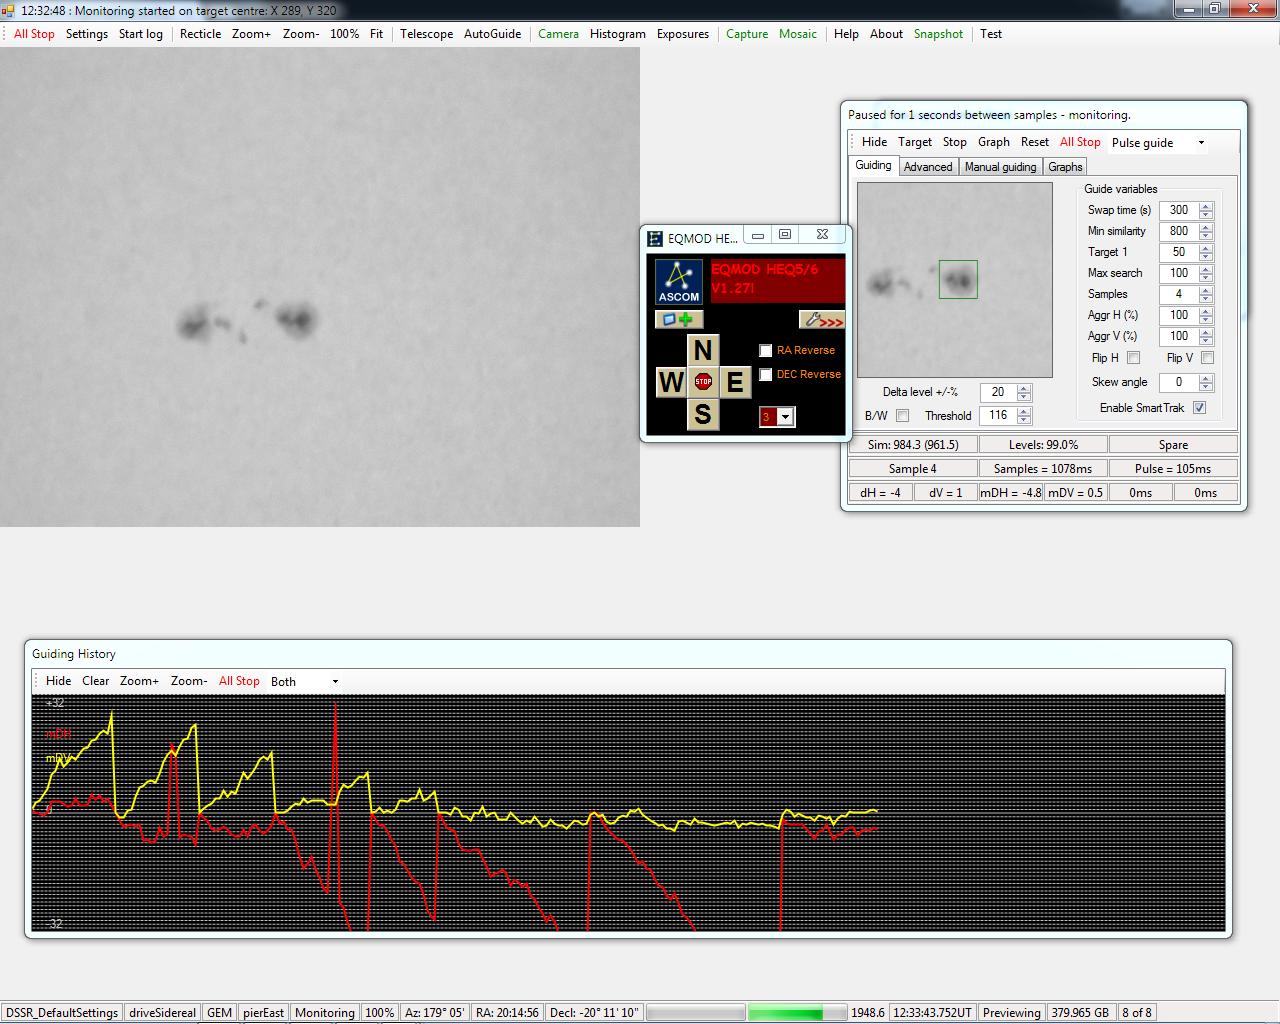
First, setup DSSR looking at a target in the South (or North if you are South of the equator) with roughly 0 degrees declination and open the Autoguide window and its Graph window. Right click on the target (I used a sunspot) which will turn on the drift monitoring mode and watch how the mDV line drifts off the horizontal. Stop monitoring, adjust your east-west mount adjustment screws and start monitoring again. If the slope of the mDV line gets steeper you have adjusted in the wrong direction. Repeat this process until the mDV line is horizontal like this screenshot.

Screen 20150119112741 000397

Next, choose a target near the eastern or western horizon. Repeat the monitoring process but this time adjust the north-south screws on your mount to get mDV horizontal like below.

Screen 20150119112741 001405

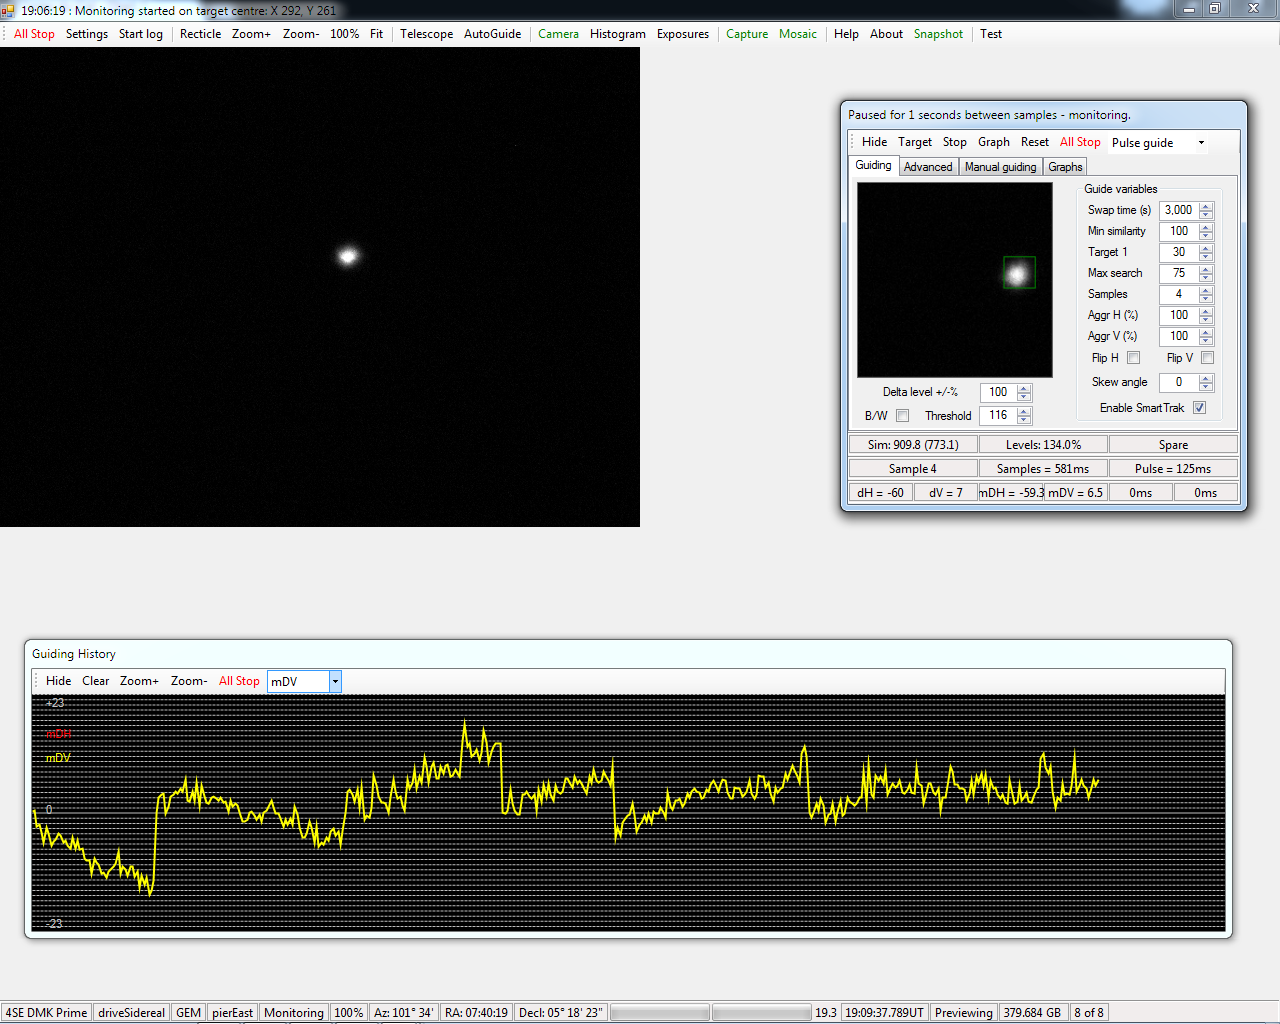
You can see above that I over-adjusted and the mDV curve started to climb. I then had to adjust in the other direction to bring the curve horizontal. I am now drift aligned.

ps Make sure you set your scope rate to suit your drift target.

 Posted by at 10:22 am

Mosaic Tutorial

 Moon, Tutorials  Comments Off on Mosaic Tutorial
Jan 102015
 

This tutorial shows how to use DFM and DSSR to automatically capture lunar (and solar) mosaics and how to process them into a final image.  I used a Nexstar 4SE OTA on a HEQ5 Pro with a DMK21 camera for this tutorial.

First off, set up your scope and mount and make sure that DSSR has the correct FOV values in its telescope settings page. Let your scope cool down to ambient and then focus using DFM. Then capture your mosaics using DSSR as shown. DSSR will generate a preview image for each mosaic like this one below.

M 20150103183125 X1 preview

The blue tiles were dark sky which DSSR automatically skipped but you can see some tiles which are totally black or just have a sliver of Moon on them. We need to remove these before the next processing stage or they will crash the stacking programme. You could do this manually but this is very time consuming, especially for very large numbers of videos.

Luckily, Andrew Cool of SkippySky has produced a great app called AS2_Cull_Movies which will do this for you. You tell it where your videos are stored and what percentage of each video should be above a certain brightness threshold. I used 20% and a brightness threshold of 5. The app then checks each video and moves any rejects into a separate folder (or optionally changes their file extension). You can then move onto the video processing stage.

I use AviStack to process my videos into very sharp images. First, load all the videos from your DSSR video folder and select one of them with prominent features like craters or mountains. Change your settings to Processing>All automatic (except post processing) and Update display>None. Adjust the wavelets and other settings to give the best and sharpest image and process that single video. Remove that video using the red cross and press the Batch Processing button. AviStack will then run through all your remaining videos and produce an image from each.

Finally, open Microsoft ICE and drag all your images onto it. ICE will then stitch your mosaic together and you can then export it to disk. A final edit in your image editor of choice (I use GIMP) will give you an image like below. Compare this image with the shimmering videos in the video above.

Click for full size mosaic.

Click for full size mosaic.

 Posted by at 2:37 pm

Mosaic Preview Finally Fixed

 Moon, Tutorials  Comments Off on Mosaic Preview Finally Fixed
Dec 302014
 

DSSR has a cool mosaic module that automatically captures videos for making lunar and solar mosaics. Part of this module is a mosaic preview image that shows the progress of the capture process. This was a bit hit and miss in older versions but I just tried out version 4.7 and I think I have finally got it.

Note that my mount is very roughly aligned so I set the mosaic size to 0.8×1.0 degrees to make sure I got the Moon. First up was a mosaic with the scope west of the pier. This took 22min with each video at 10sec and the mosaic started in the top right tile. The blue tiles are sky which DSSR automatically skips using the Exposures module.

M 20141229182748 X1 preview

Next up I did a meridian flip and tried again. Continue reading »

 Posted by at 1:56 pm

DVS Tips

 Tutorials  Comments Off on DVS Tips
Dec 062013
 

We recently got a request to help a user align a series of full disk Sun images while keeping the Sun’s position static. The normal method of aligning on a surface feature would result in the disk moving sideways as the Sun rotated. We came up with the idea of using the entire Sun as the alignment target and it worked like a charm. You can see how this works in the screenshot below. This is really stretching DVS so you need to give it time to work thru each frame.

matthias1


The second tip was suggested by the user who came up with the idea of having 2 sets of processed images for hard-to-align image sequences. The first set has the contrast or sharpness or gamma cranked up so that DVS can easily lock onto the alignment targets and perform an alignment pass. The second set is processed normally to give the desired images for the final animation. The trick is now to load the second set of images and load the first set’s alignment results using the Data button. This will align the frames and you can now export your animation.

Big thanks to Matthias Mass for these suggestions.

 Posted by at 10:56 am

Banish Newton’s Rings

 Tutorials  Comments Off on Banish Newton’s Rings
Sep 272012
 

We had a good discussion on my old Yahoo user group about how to remove Netwon’s Rings from your h-alpha setups. I have condensed the results of our discussion here to help others with this problem.

Newton’s rings are caused by interference arising from internal reflections in your imaging train and look like this.

Newton’s Rings

User Robert suggested that the rings could be eliminated by slightly tilting the camera. I came up with a simple design sketch like so.

Daves Tiltometer Mk II

Users Robert, Mike and Jack then built test versions which seem to work very well. Jack’s version was used to re-image the above view to give this which is a dramatic improvement.

Newton’s Rings Eliminated by Dave’s Tiltometer

Robert and Jack produced pdf info and foto sheets for their tiltometers which are here.

Robert

Jack

Mike uploaded a range of fotos of his version and results which are here.


 Posted by at 2:55 pm