This tutorial shows how to use DFM and DSSR to automatically capture lunar (and solar) mosaics and how to process them into a final image. I used a Nexstar 4SE OTA on a HEQ5 Pro with a DMK21 camera for this tutorial.
First off, set up your scope and mount and make sure that DSSR has the correct FOV values in its telescope settings page. Let your scope cool down to ambient and then focus using DFM. Then capture your mosaics using DSSR as shown. DSSR will generate a preview image for each mosaic like this one below.
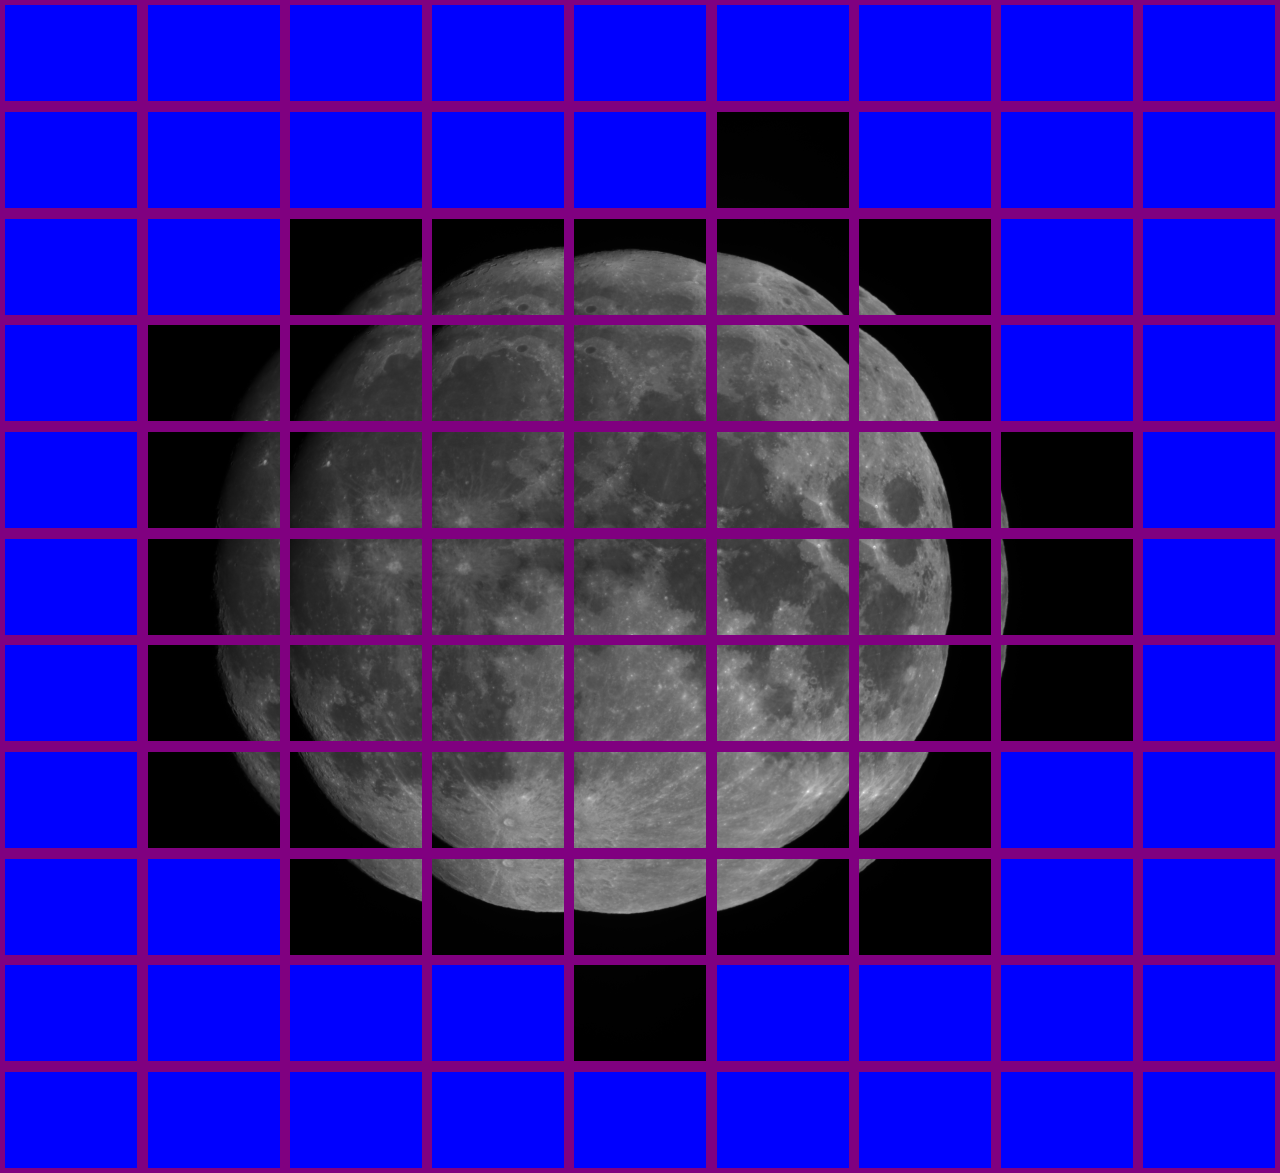
The blue tiles were dark sky which DSSR automatically skipped but you can see some tiles which are totally black or just have a sliver of Moon on them. We need to remove these before the next processing stage or they will crash the stacking programme. You could do this manually but this is very time consuming, especially for very large numbers of videos.
Luckily, Andrew Cool of SkippySky has produced a great app called AS2_Cull_Movies which will do this for you. You tell it where your videos are stored and what percentage of each video should be above a certain brightness threshold. I used 20% and a brightness threshold of 5. The app then checks each video and moves any rejects into a separate folder (or optionally changes their file extension). You can then move onto the video processing stage.
I use AviStack to process my videos into very sharp images. First, load all the videos from your DSSR video folder and select one of them with prominent features like craters or mountains. Change your settings to Processing>All automatic (except post processing) and Update display>None. Adjust the wavelets and other settings to give the best and sharpest image and process that single video. Remove that video using the red cross and press the Batch Processing button. AviStack will then run through all your remaining videos and produce an image from each.
Finally, open Microsoft ICE and drag all your images onto it. ICE will then stitch your mosaic together and you can then export it to disk. A final edit in your image editor of choice (I use GIMP) will give you an image like below. Compare this image with the shimmering videos in the video above.
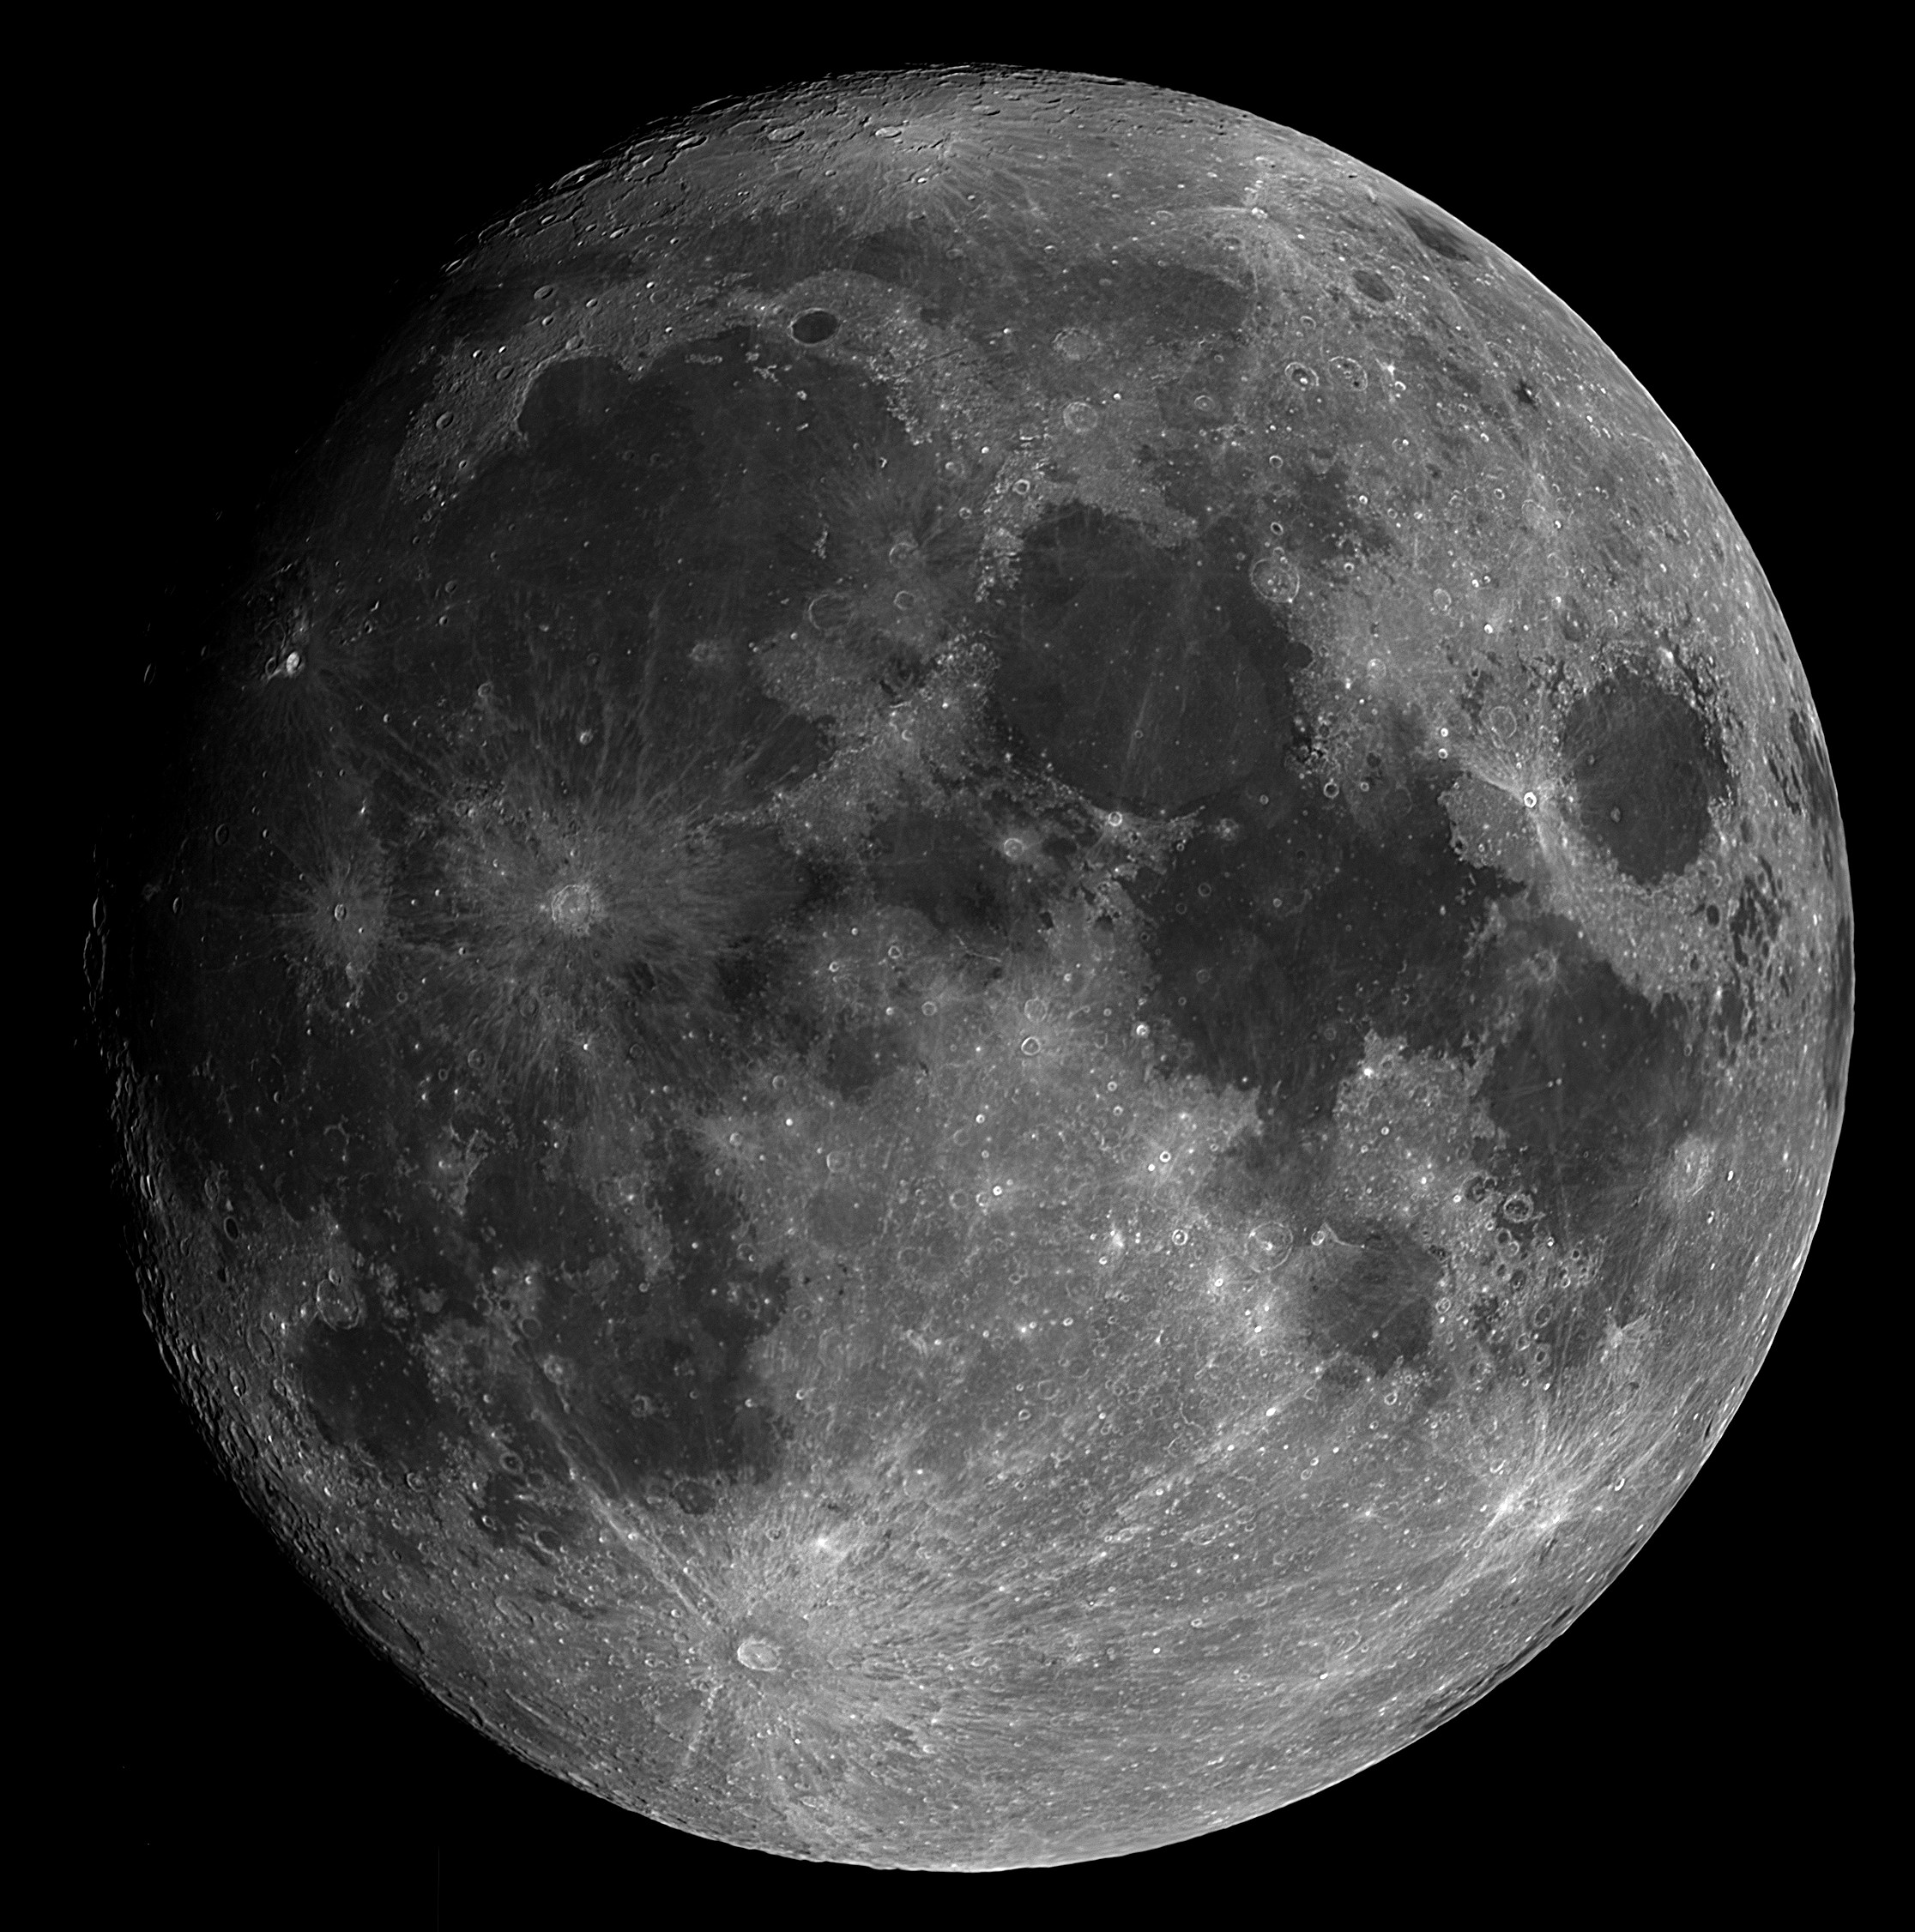
Click for full size mosaic.
Sorry, the comment form is closed at this time.