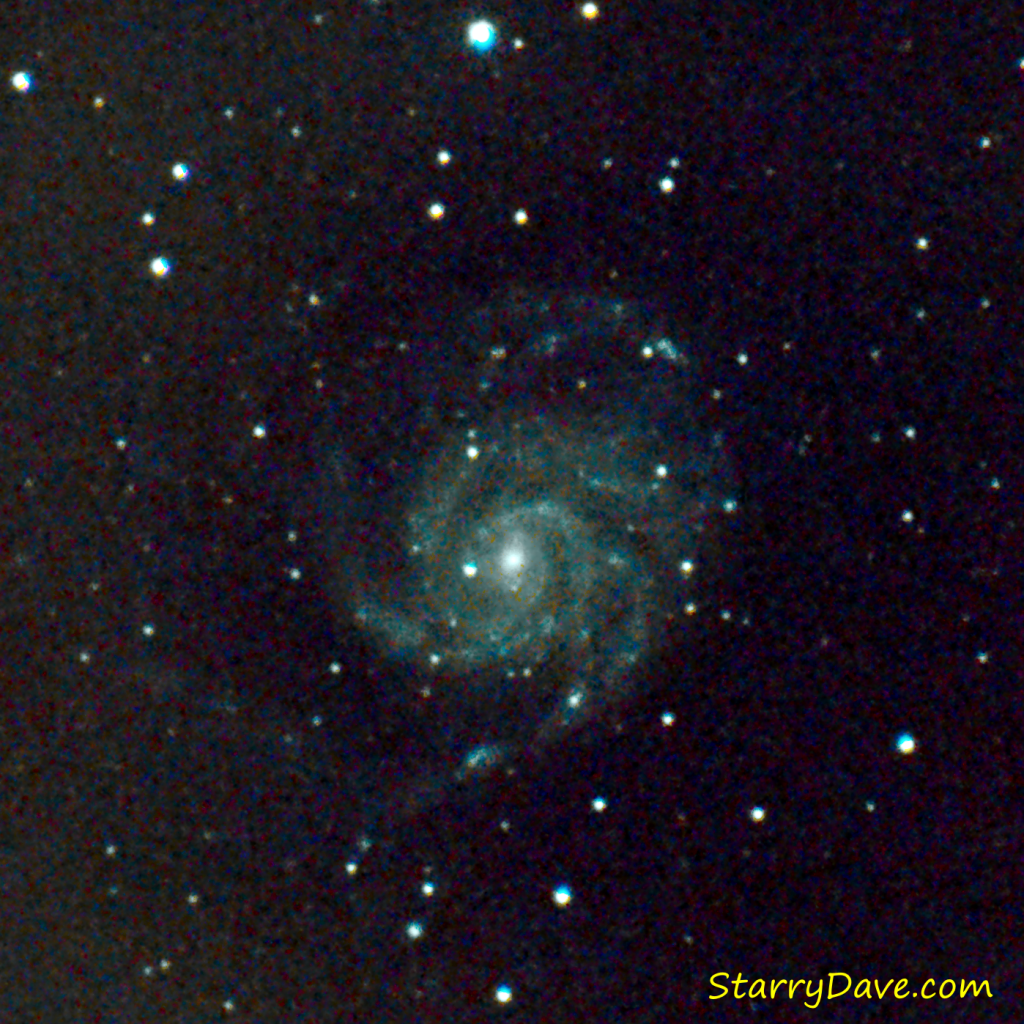
M101 captured with a Canon SX530HS at 50x zoom in CHDK AstroKam. 50x200sec lights at f8 and ISO 1600 with 15 each darks and offsets. Stacked in Deep Sky Stacker, processed in StarTools and polished in Paint.net.
M101 captured with a Canon SX530HS at 50x zoom in CHDK AstroKam. 50x200sec lights at f8 and ISO 1600 with 15 each darks and offsets. Stacked in Deep Sky Stacker, processed in StarTools and polished in Paint.net.
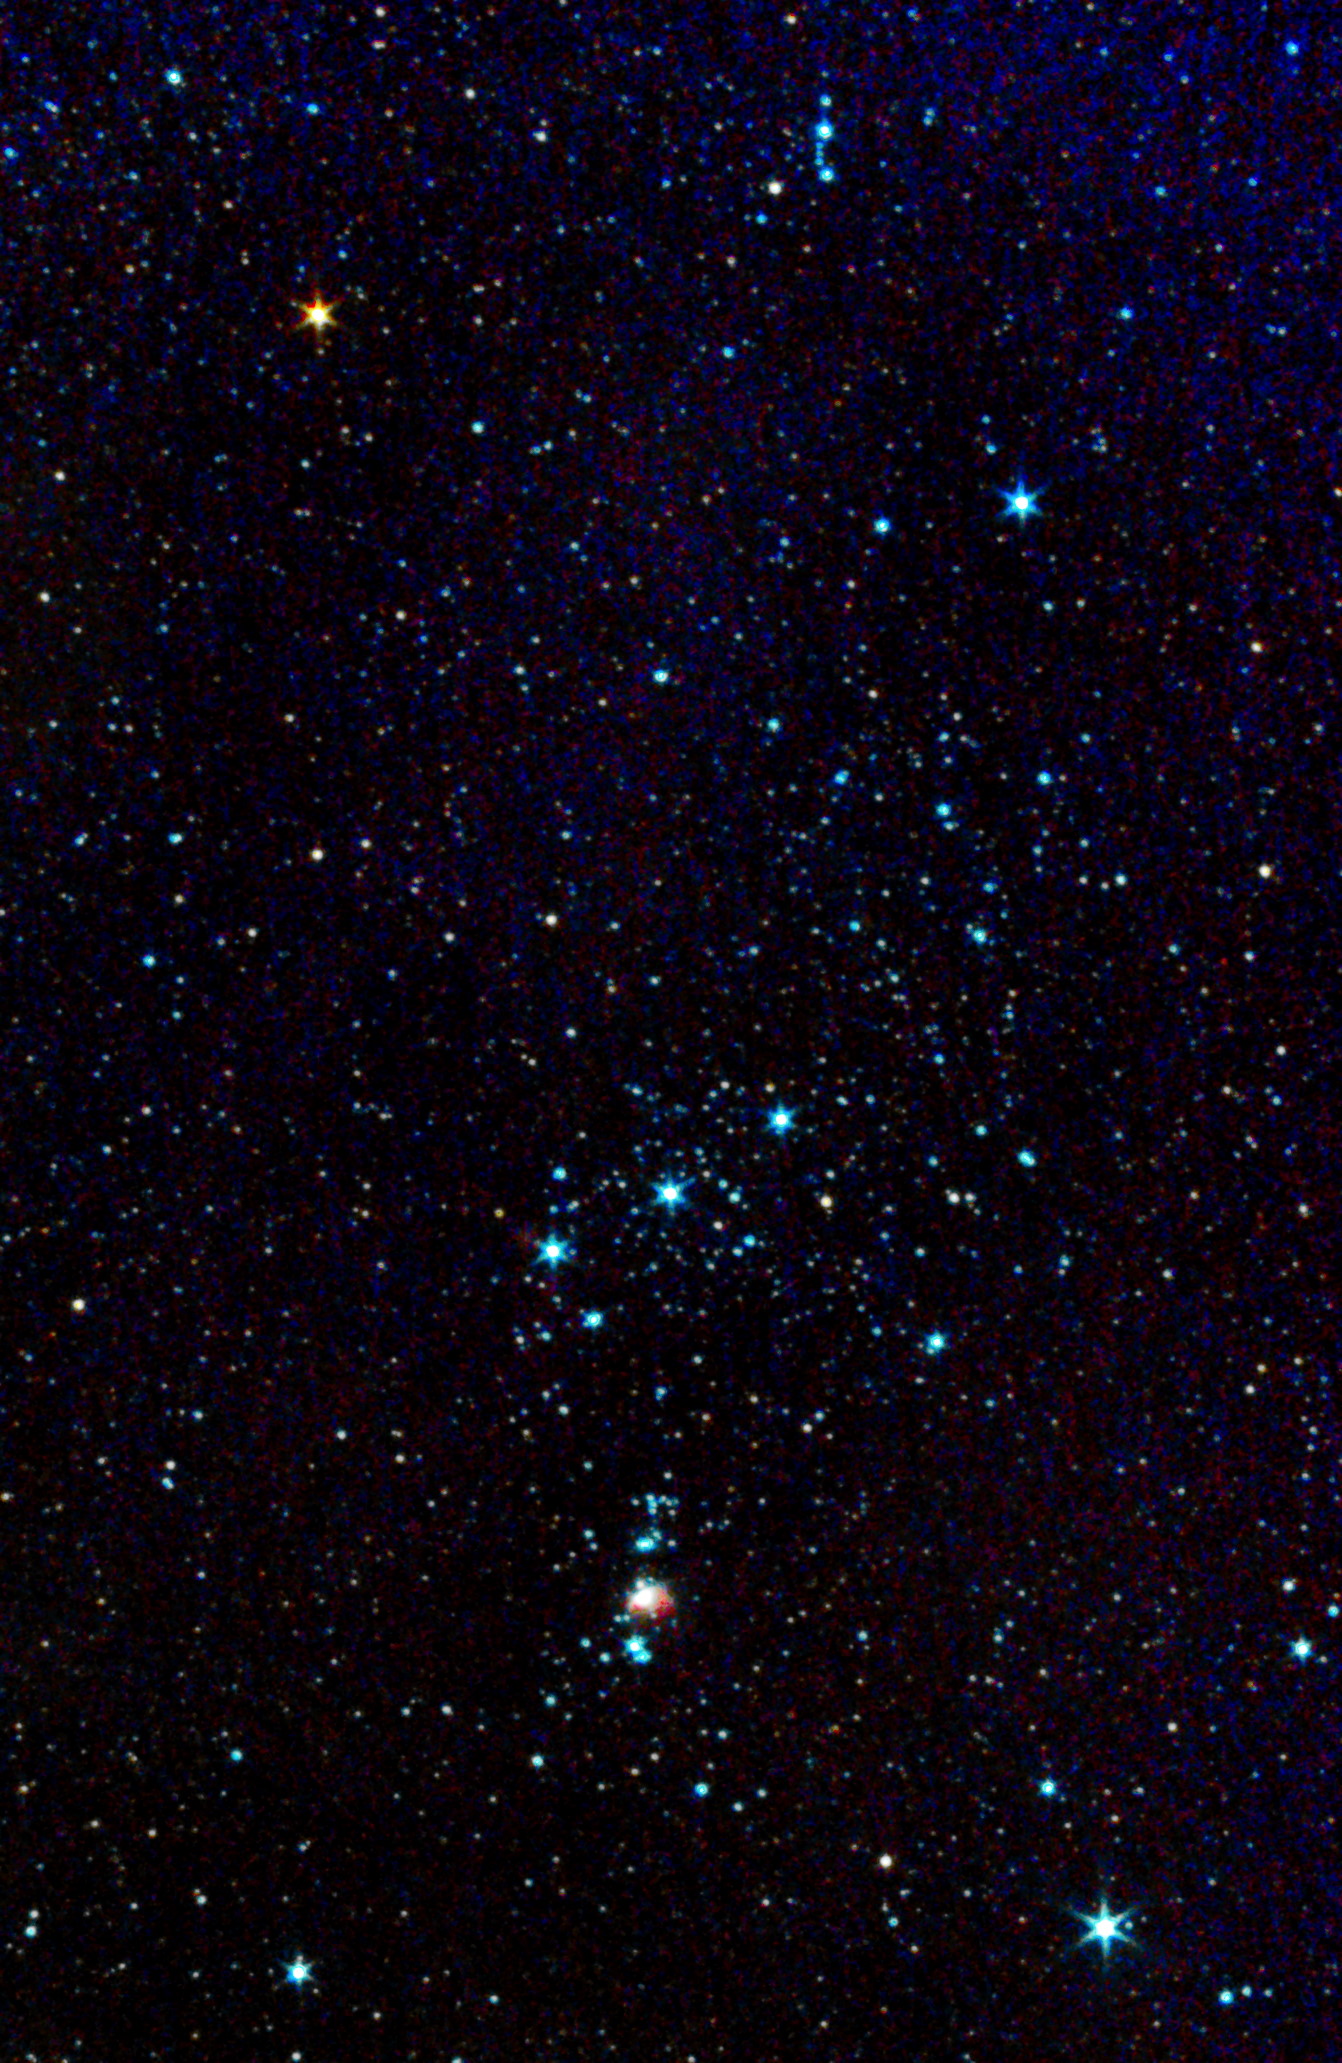
I took a shot of the night sky with my SX530HS and submitted it to nova.astrometry.net for analysis. They returned the result within a few minutes, including a copy of the original image with deep sky object labels superimposed. Below is a detail of that image.
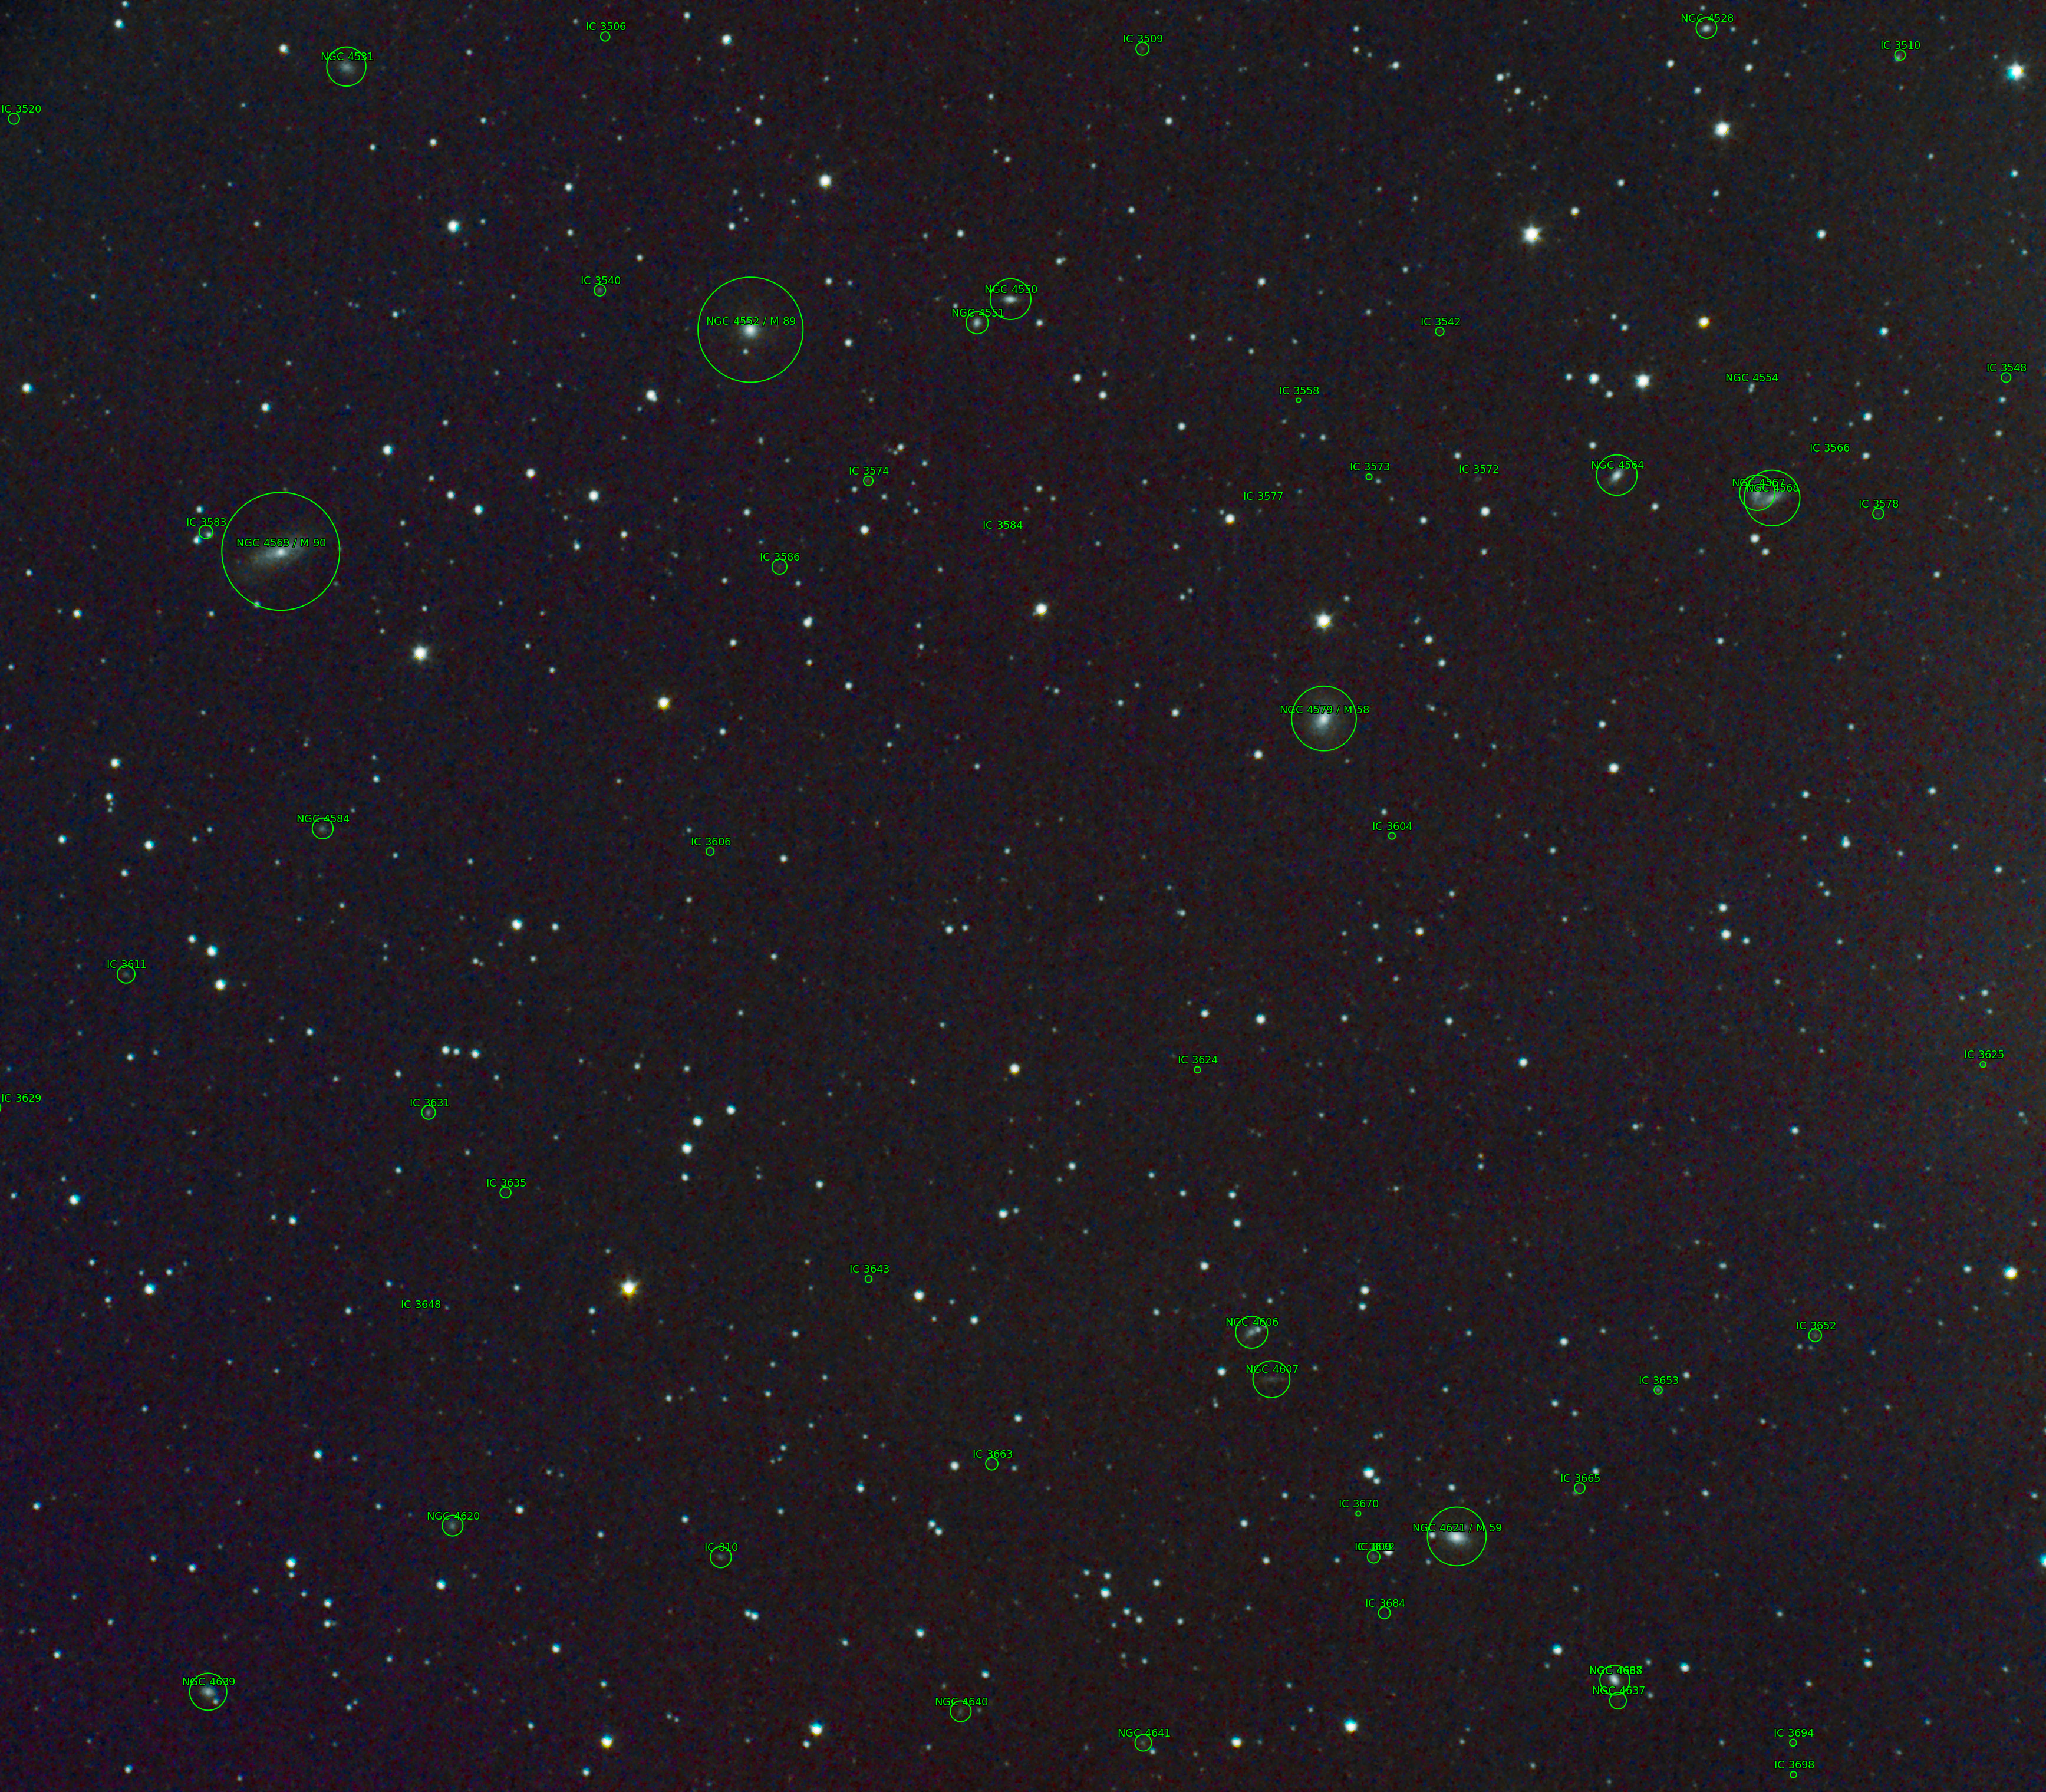
Pretty good for a point and shoot camera and a great service from http://nova.astrometry.net.
Video shows massive stars being fired into star clusters and how they interact under gravity alone.
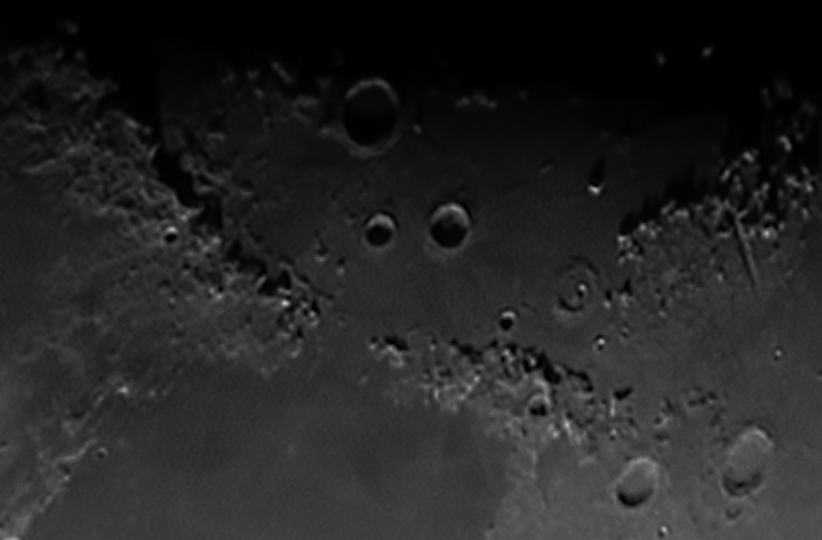
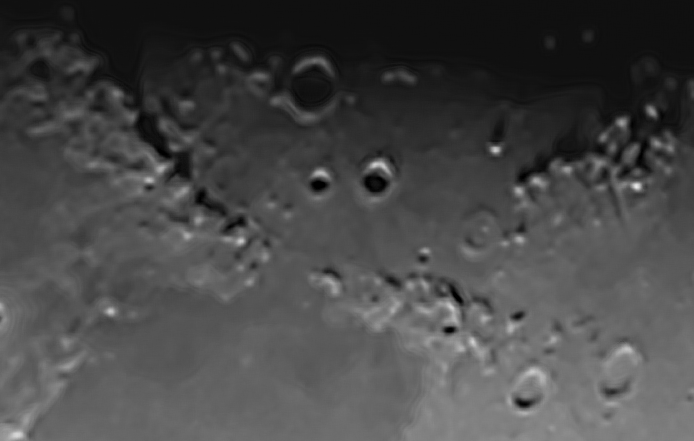
The image above was captured using my SX530HS at 50x zoom on a standard tripod. The camera was running a CHDK script which locked it in continuous shooting mode to capture 1400 frames over 17 minutes. All frames were ISO100, f6.5 and 1/250s with autofocus on. I needed to nudge the camera now and then to keep the moon on screen.
Grayscaled and cropped in PIPP, stacked in AS!3 (75% best), wavelets in Registax6 and polished in MS Photos. Not as detailed as my previous 100x shots but much more convenient to capture. I can just pop out when I see a gap in the clouds. Next stop – try same method on the Sun.
And here is another captured in 15 minutes using the method above.
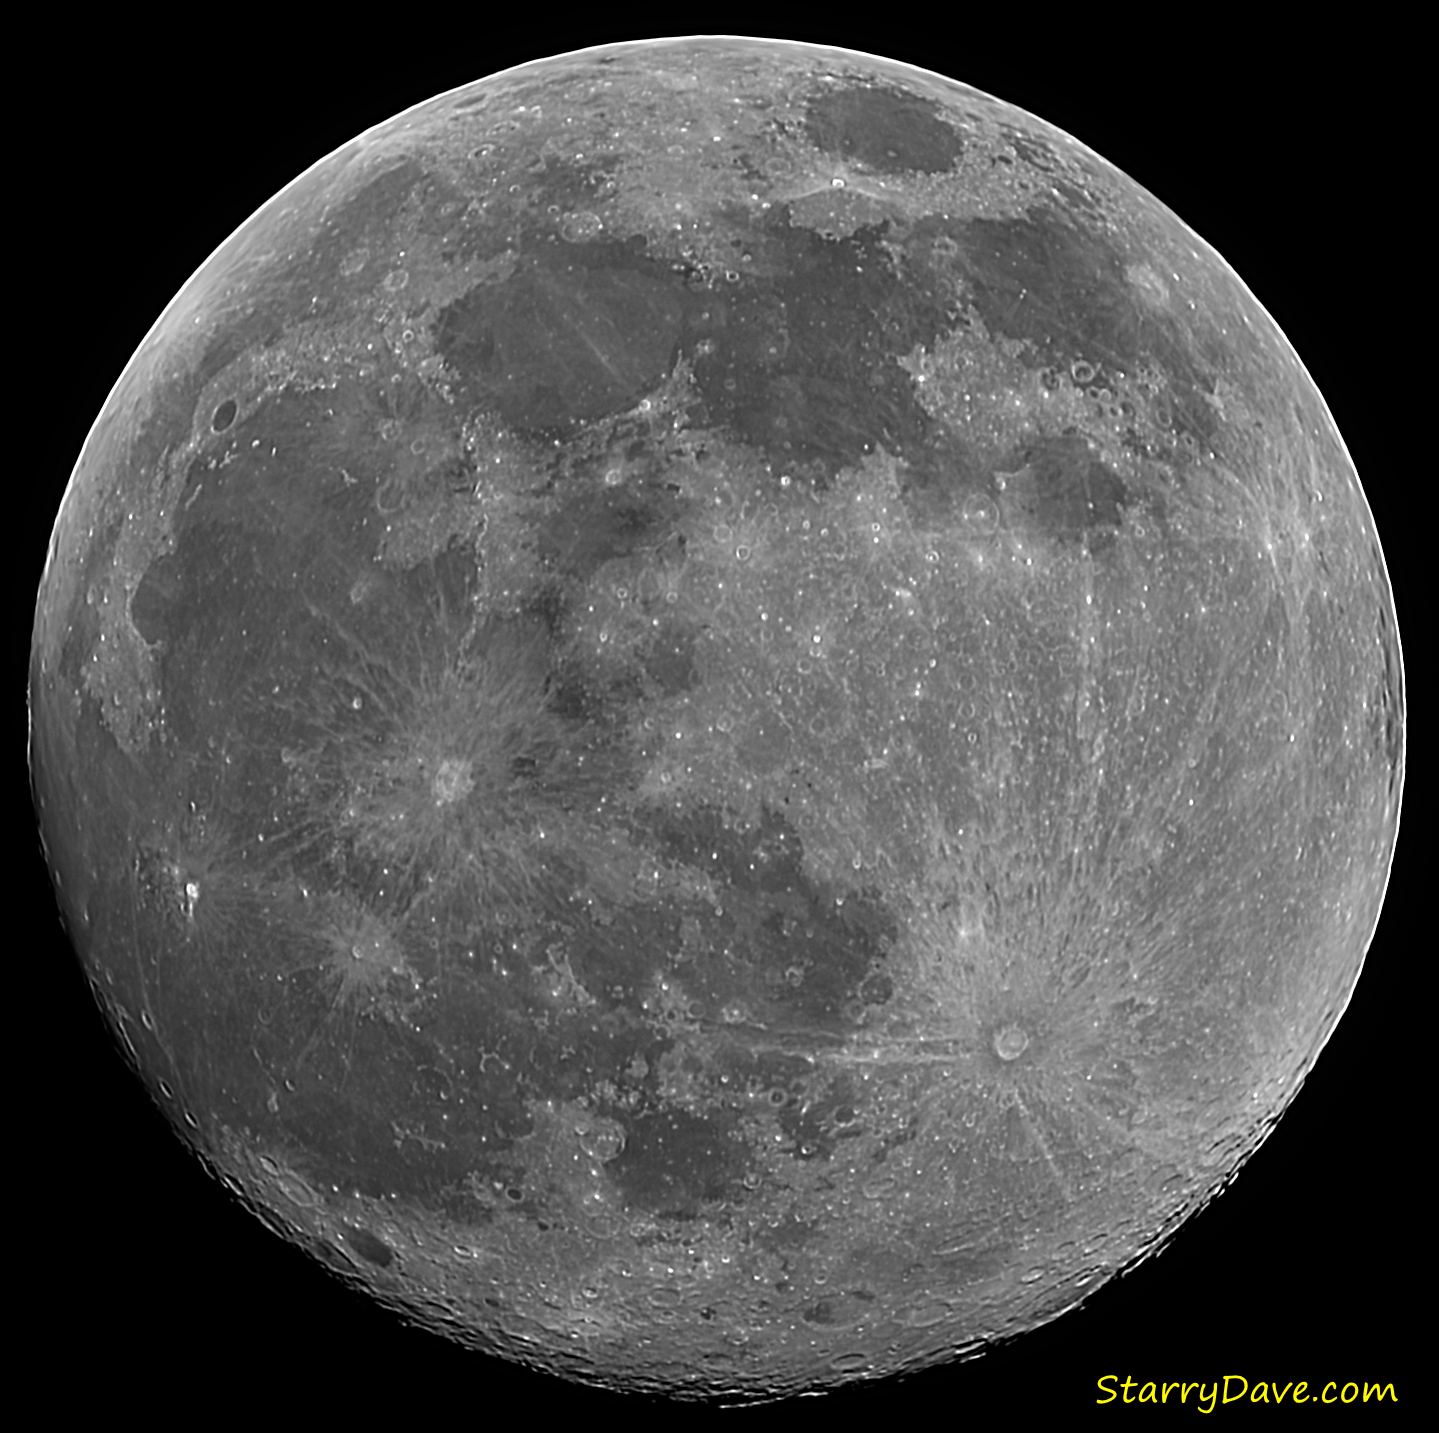
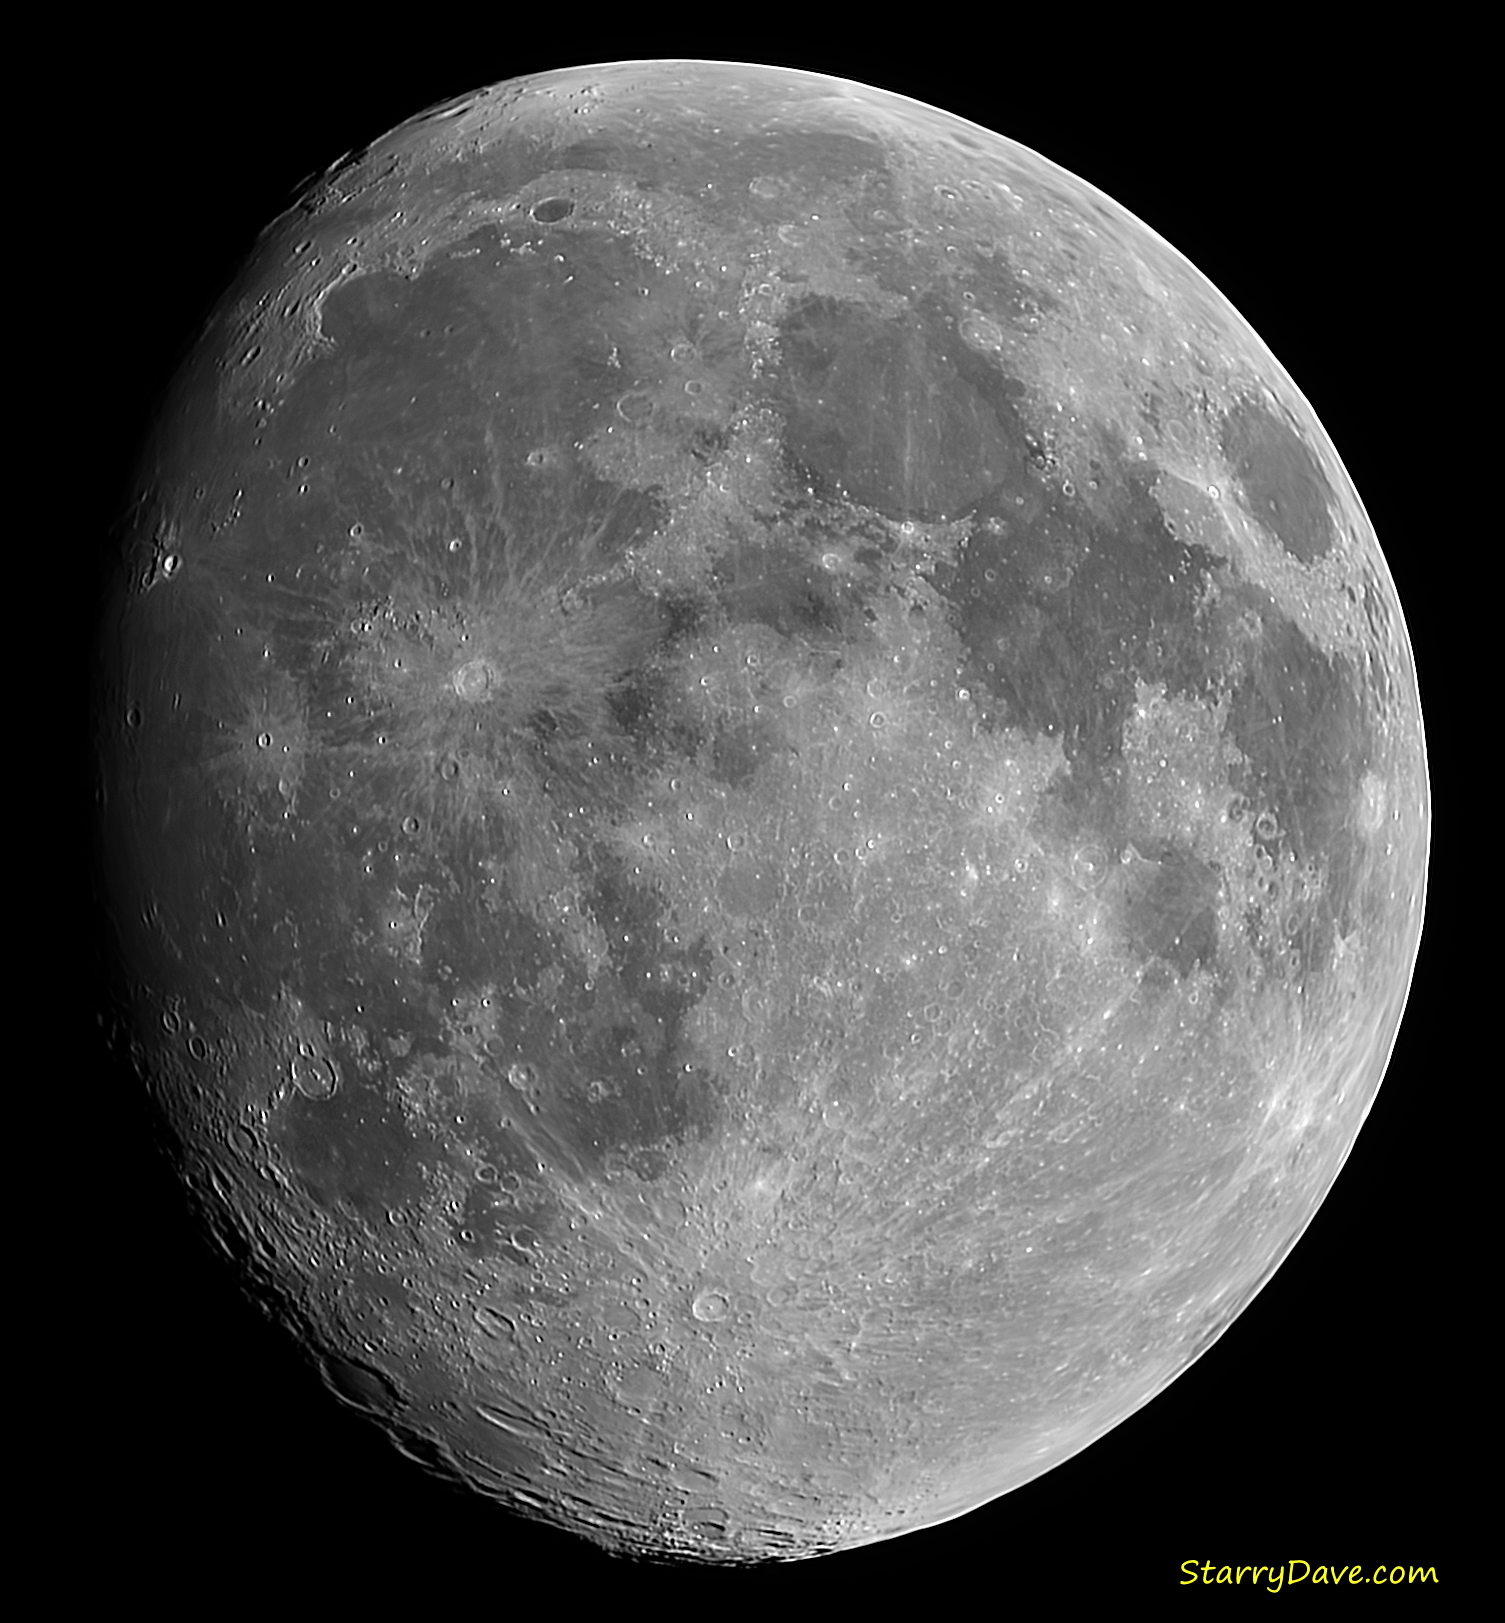
Below is a shot of the Moon I took with my amazing little Canon SX530HS camera.
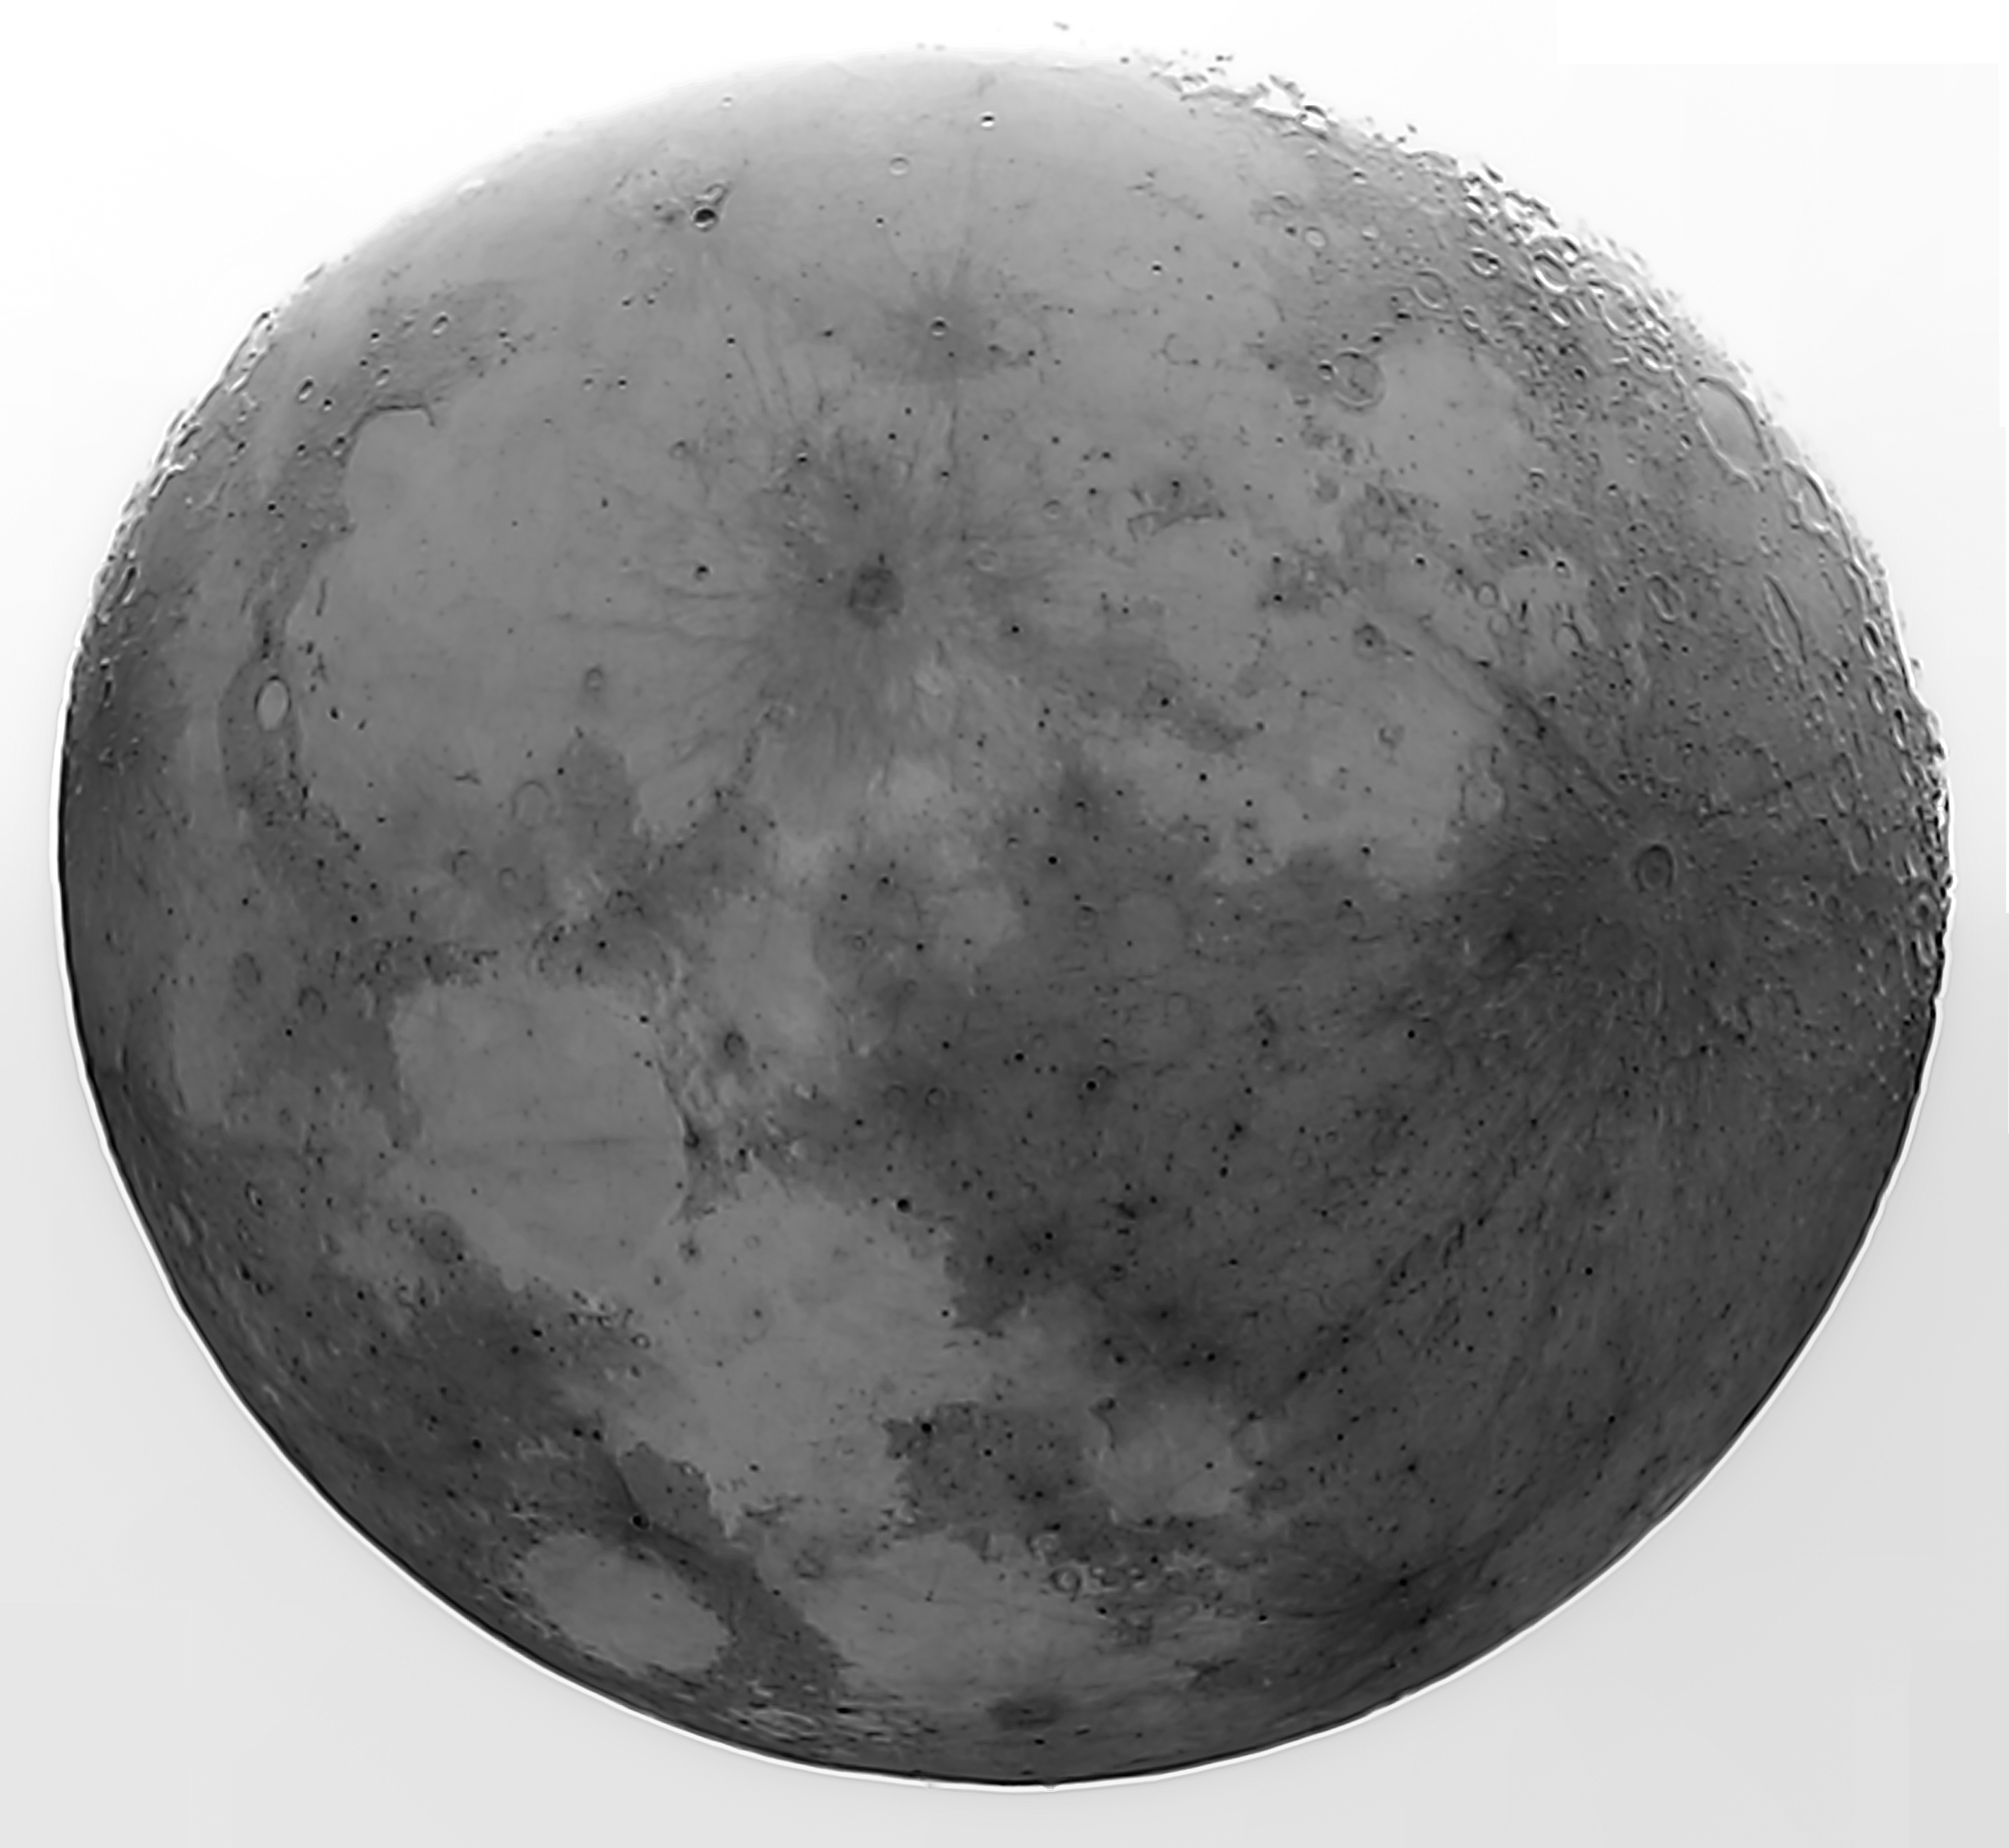
This was made from 400 jpegs shot at 100x zoom, ISO100, 1/160s, f6.5, AF-on which were captured in CHDK AstroKam. PIPP then grayscaled and culled this to 327 images based on brightness which were stacked in AS!3. Wavelets were applied in Registax 6 and final processing in MS Photos.
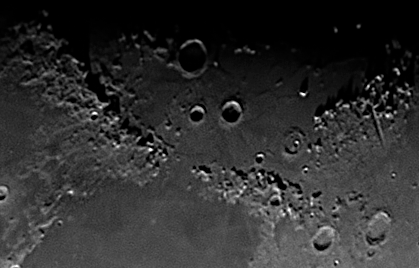
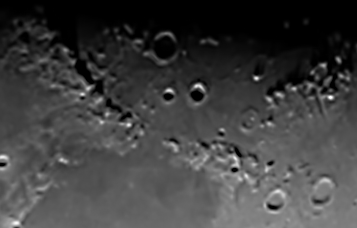
I also did some captures with jpegs at 50x zoom and 60sec videos at 100x and 200x zoom to discover the best resulting image. Below are crops of each method and I decided that 100x jpegs are the way to go in future.

And here is my latest Moon shot with my SX530HS at 100x zoom.
I just shot this with my Canon SX530HS at 200x zoom.
15x 60sec video clips captured in CHDK AstroKam, grayscaled in Virtualdub, processed in AviStack, stiched in ICE and inverted in Paint.NET. Focus was a bit off but still not bad for a second hand camera with no scope.
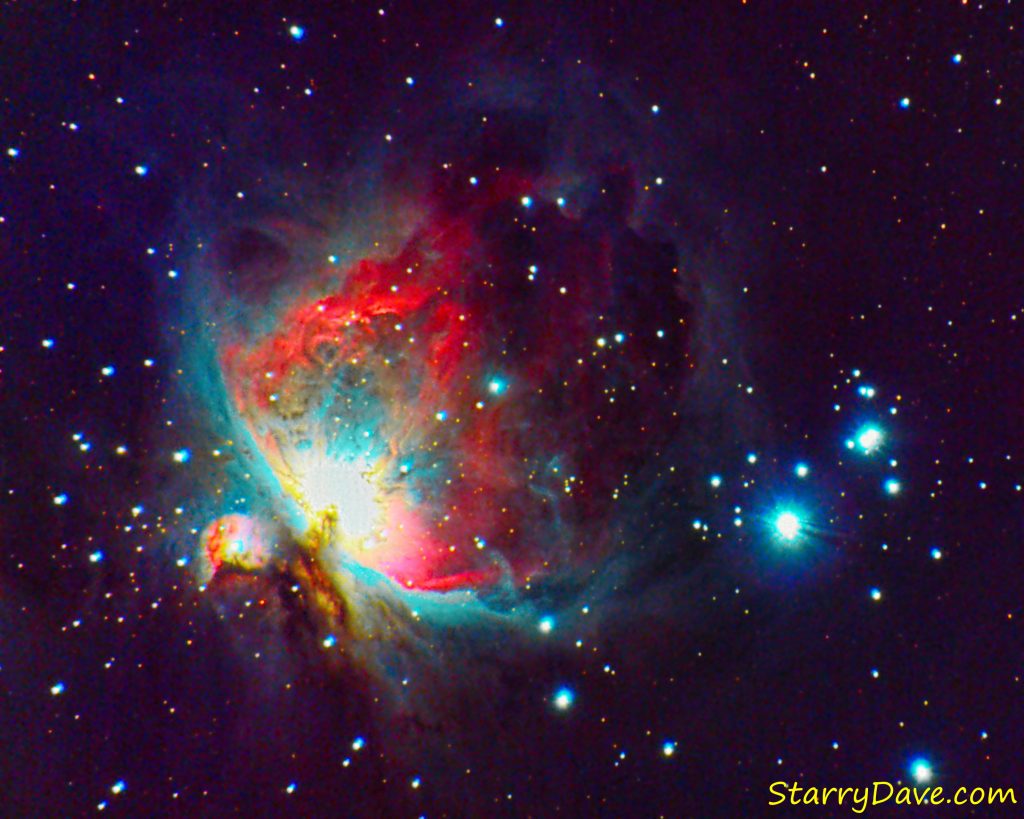
I just built an astro camera tracker with bits costing around £10 and tried it out with my Canon SX230HS. It seemed to track very well and here is a shot of Orion made up of 35 exposures of 150 seconds stacked together in DSS and processed in StarTools.
Another shot taken with my £95 SX530HS. Software = CHDK, Astrokam, ASPS, PHD2, DSS, StarTools and Paint.Net.
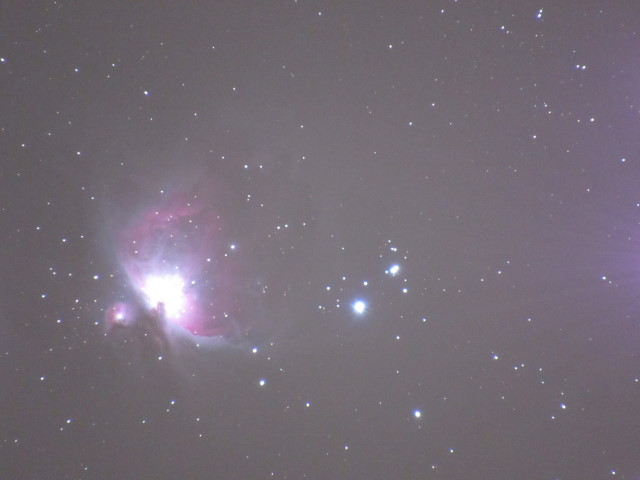
I am a member of the Powershotters group who asked for some details on how I processed this image. Here is a light image:
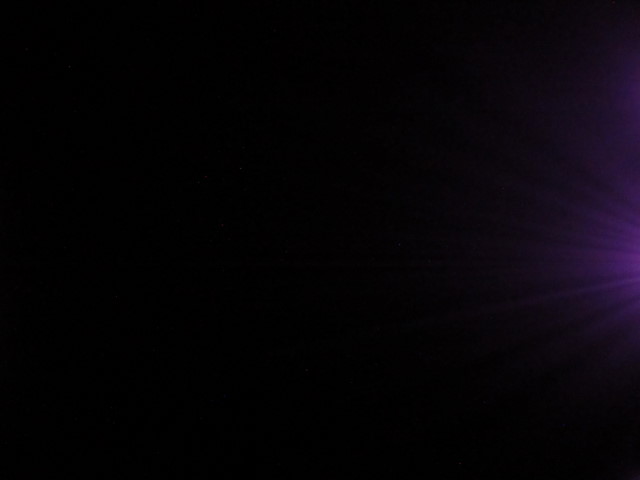
and here is a dark image
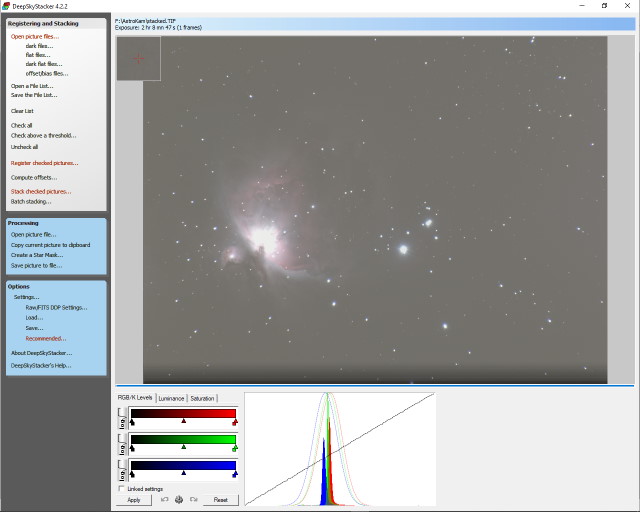
The 48 light and 15 dark images were stacked in Deep Sky Stacker along with 25 flats and 15 offsets to produce the FITS image below. This was then processed in StarTools to give the final result above.
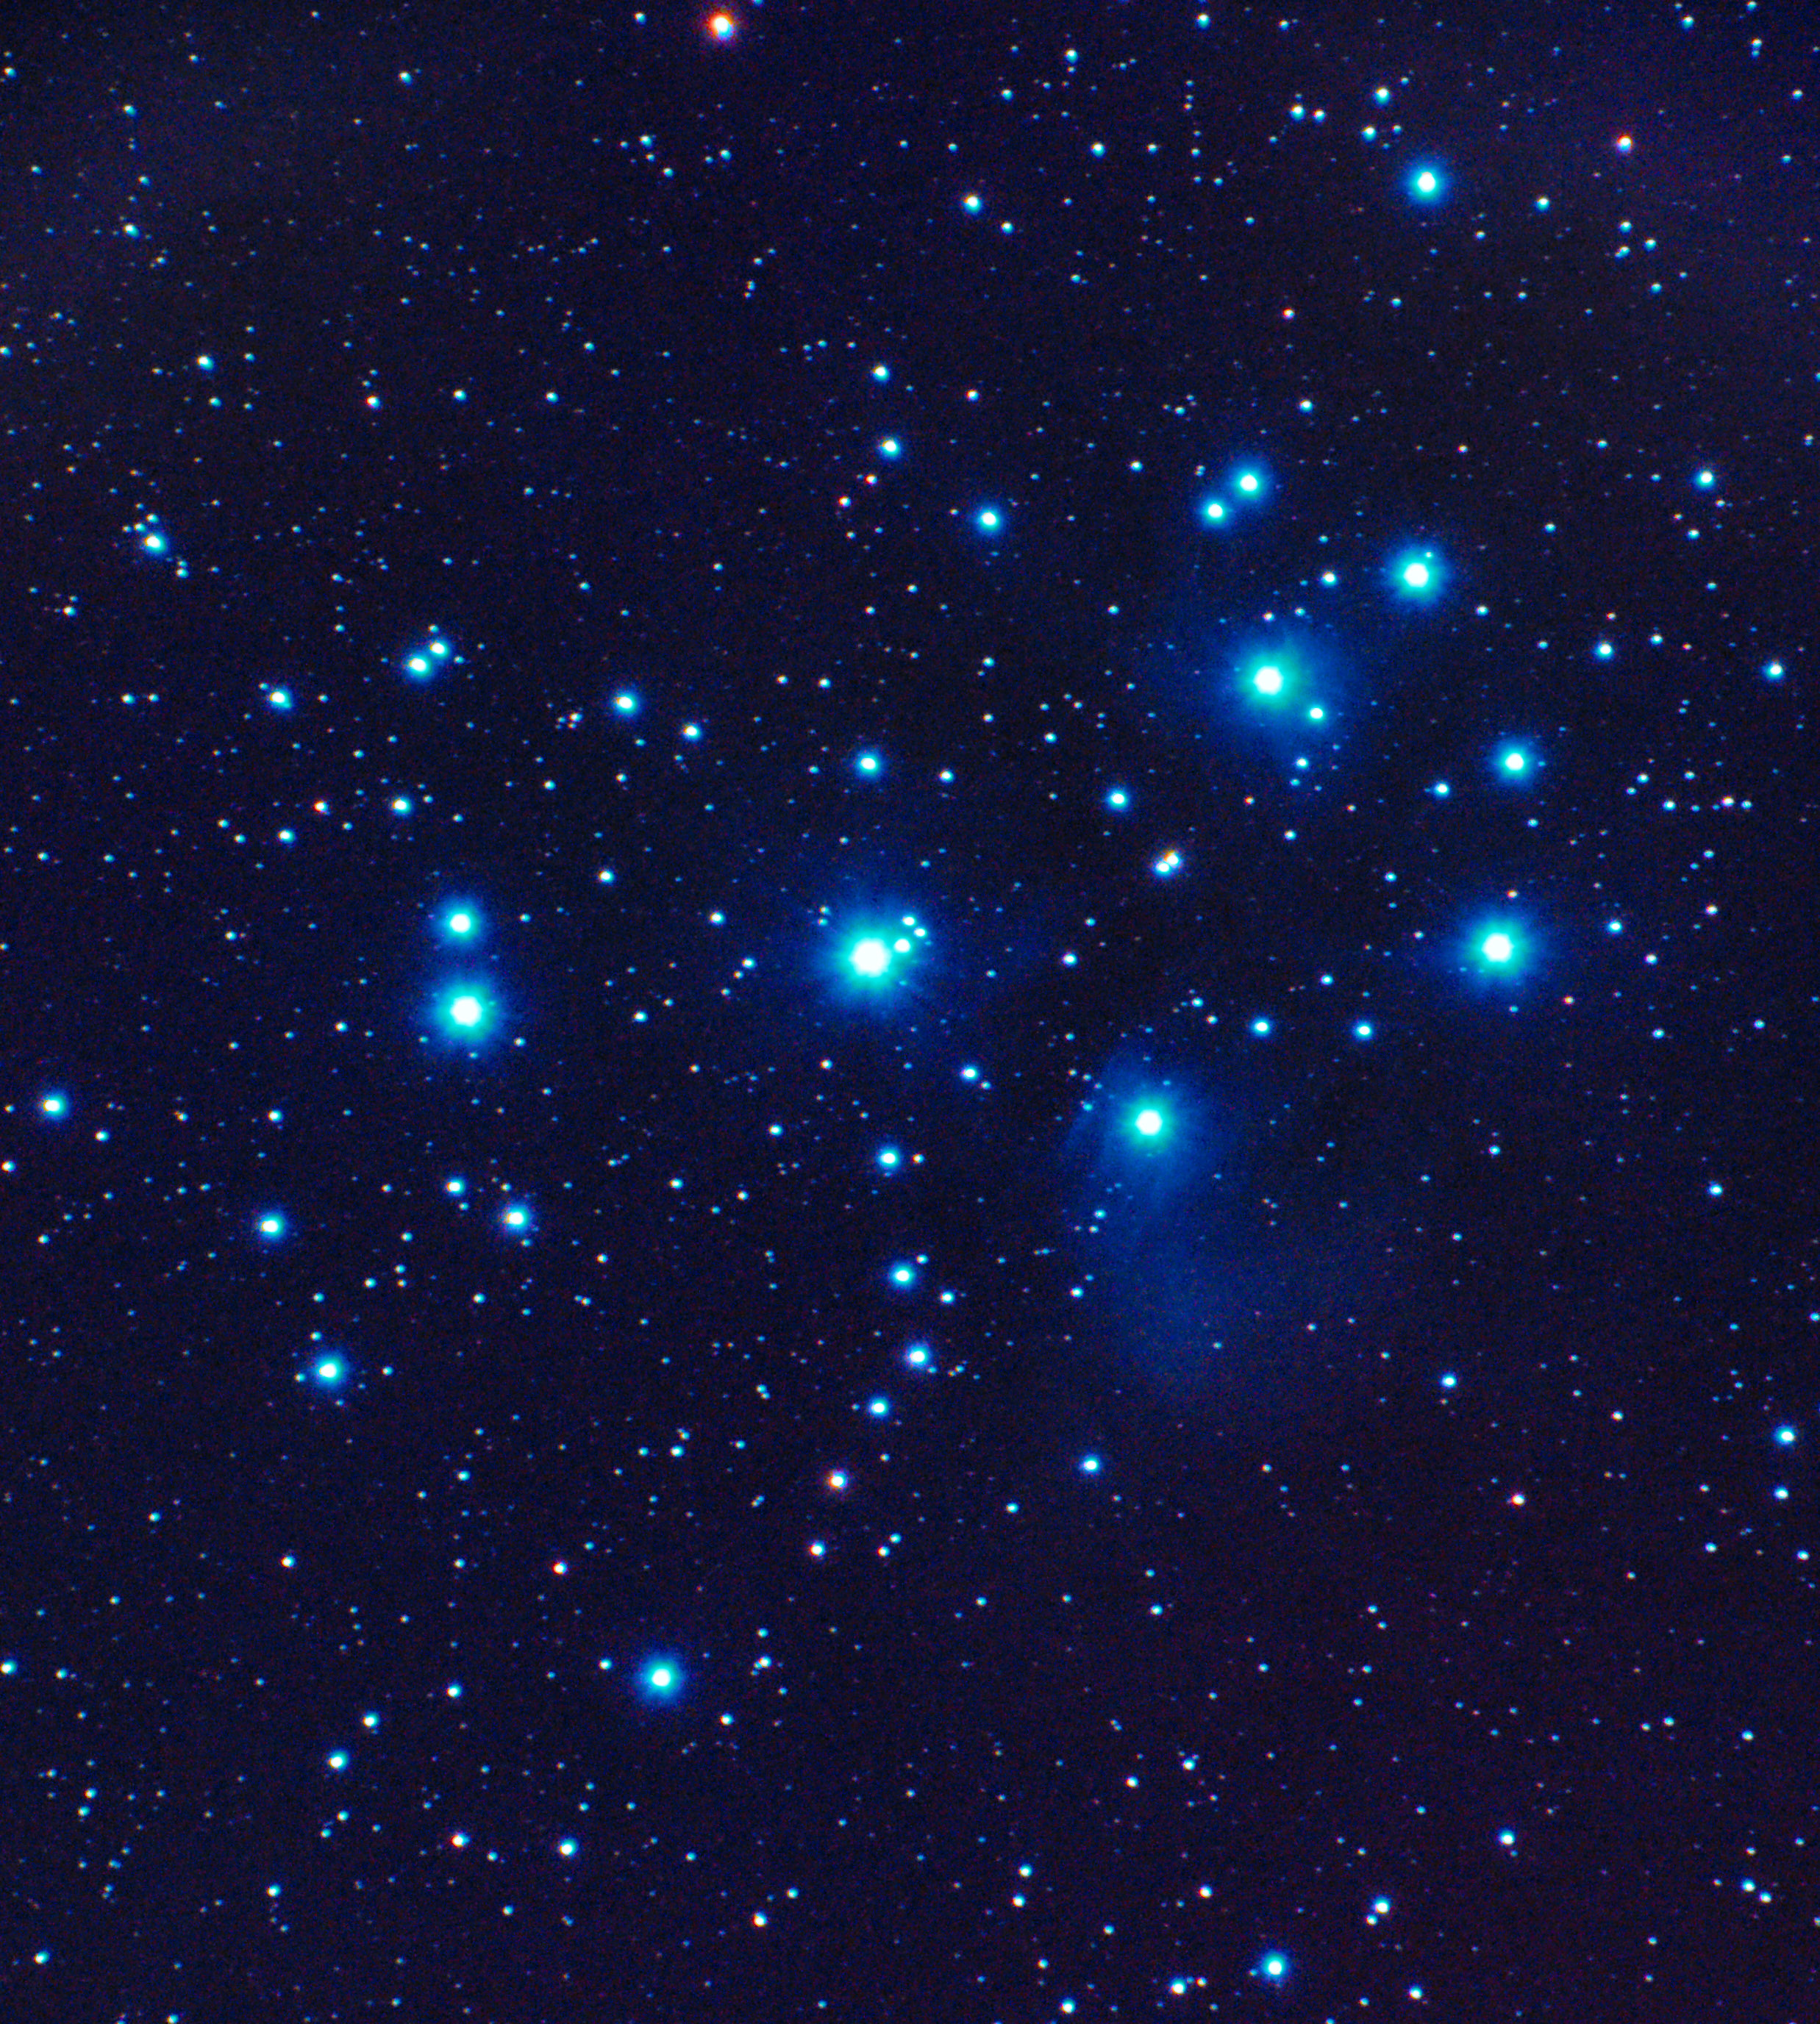
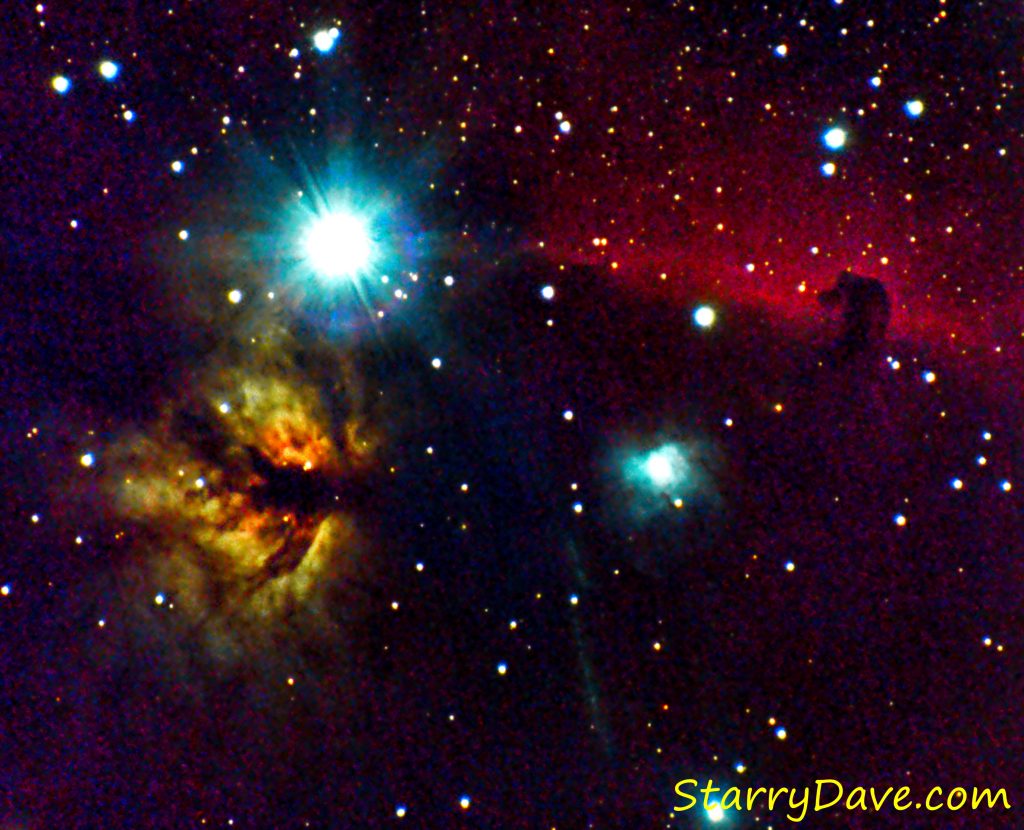
Here is a shot I took with my SX530HS PowerShot at maximum optical zoom. Captured in CHDK AstroKam, guided by PHD2, stacked in Deep Sky Stacker and processed in StarTools and Paint.NET.
Not bad for a second hand camera with no telescope?
Took these using my Canon SX530HS controlled by AstroKam. Other software used: CHDK, PHD2, ASPS, DSS and StarTools.